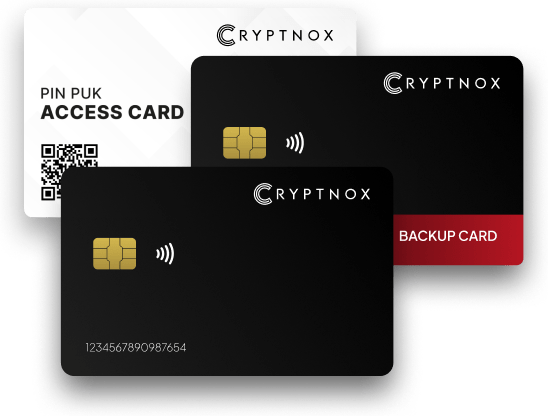
Two Cards, One Seed The Cryptnox Dual Smartcard Wallet comes with a primary and a backup card, both included in the same pack. During initialization, both cards are generated with the same private key, so your backup is instantly ready if the primary is lost or damaged
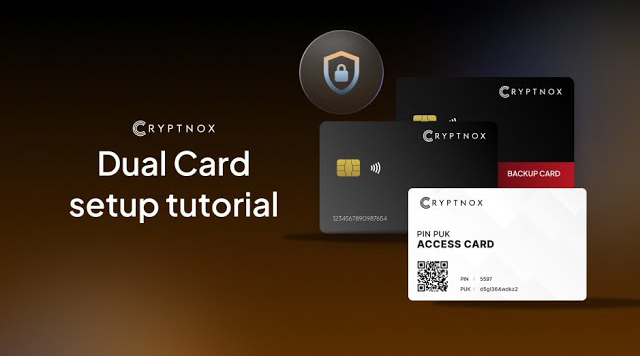
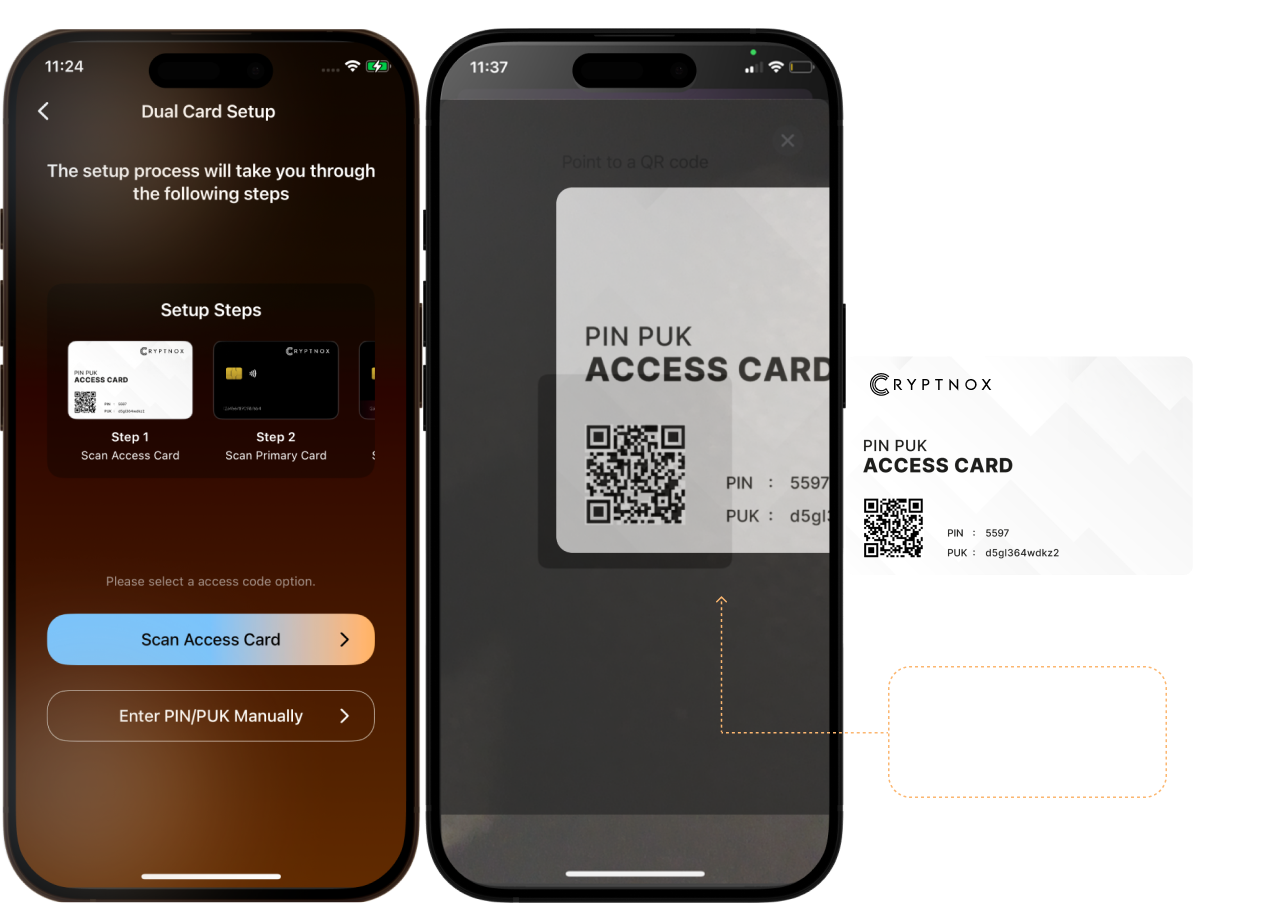
The Access Card: is a simple randomly generated PIN and PUK provided for convenient initialization, which must be securely stored. More info on: https://cryptnox.com/pin-puk-biometric-pairing/
Quick & Secure Setup The pairing process is swift—full process takes about 23-second initialization for both cards. You don’t have to write down or manage seed phrases—the seed remains securely contained within the cards
Warning: Make sure the cards are securely stored. If both cards are lost or damaged, you will have no possibility to recover your wallet. The Access Card must also be securely stored, in order to pair the cards with a a newly installed application
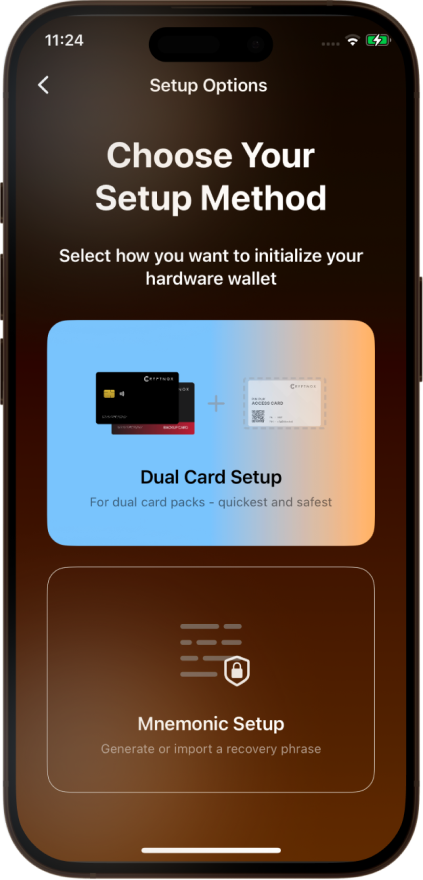
How to ? Follow the steps below
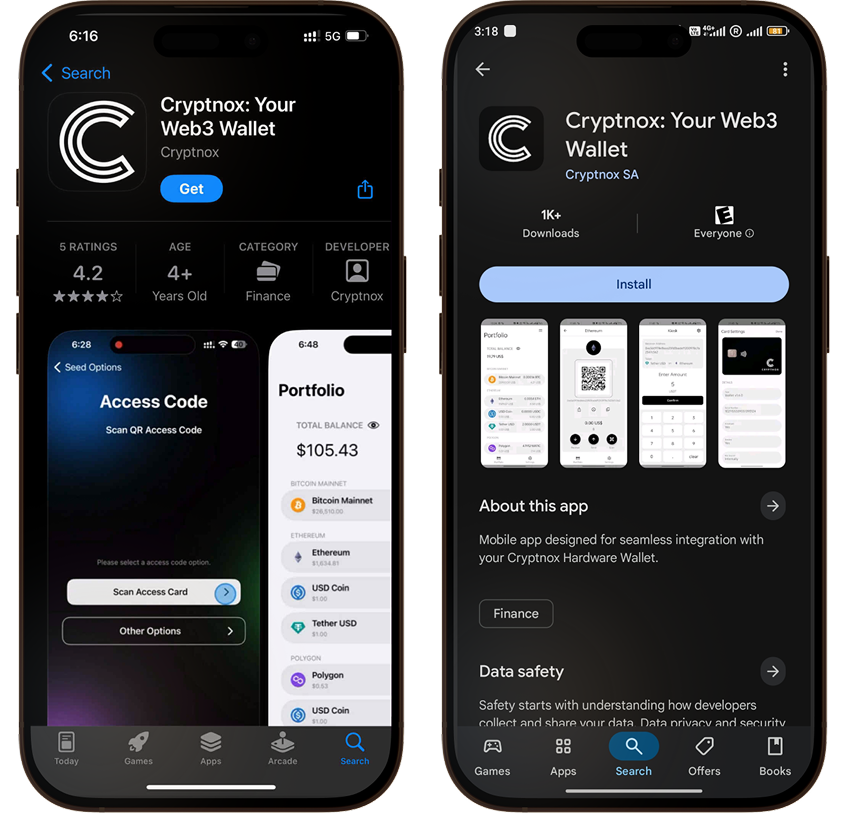
How to Download the Cryptnox application
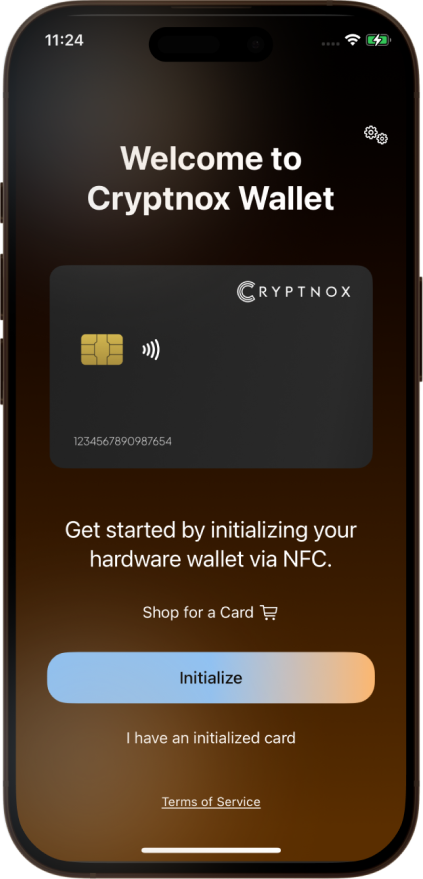
Ensure that you have downloaded and installed the Cryptnox App on your device. Launch the app to begin the initialization process
The Cryptnox Access Card helps you safely initialize your wallet cards by providing a secure way to store and use a PIN and PUK
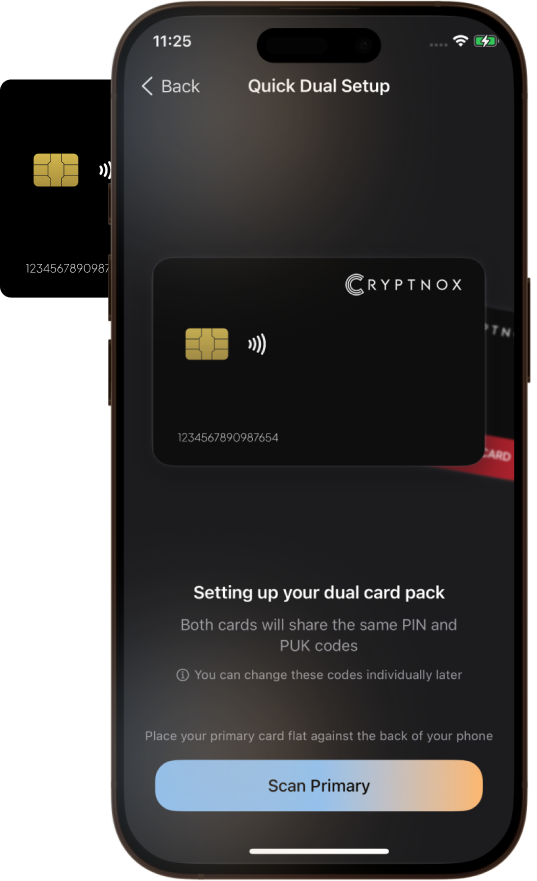
Step 4
Place the “Primary Card” at the back of your phone to enable the NFC to scan the card. This step ensures proper pairing between the app and your “Primary Card”
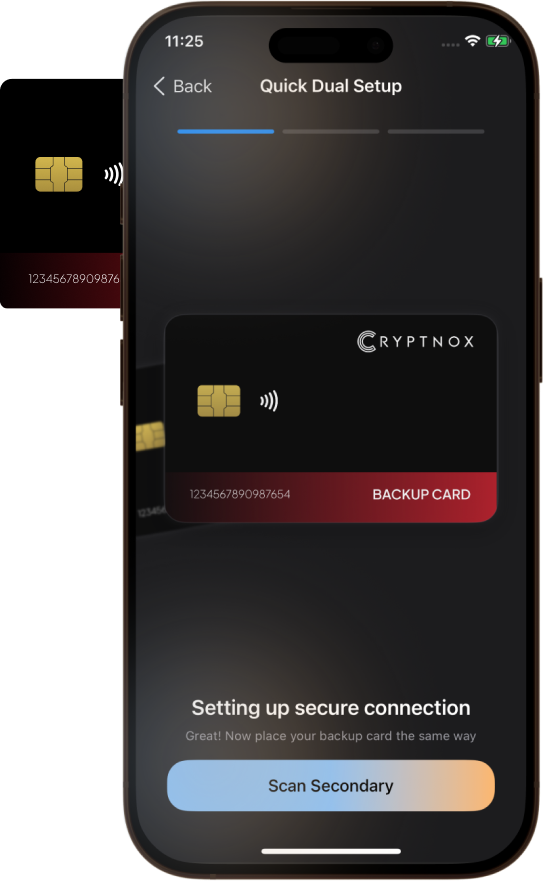
Step 5
Place the “Backup Card” at the back of your phone to enable the NFC to scan the card. This step establish proper pairing between the app and your “Backup Card”
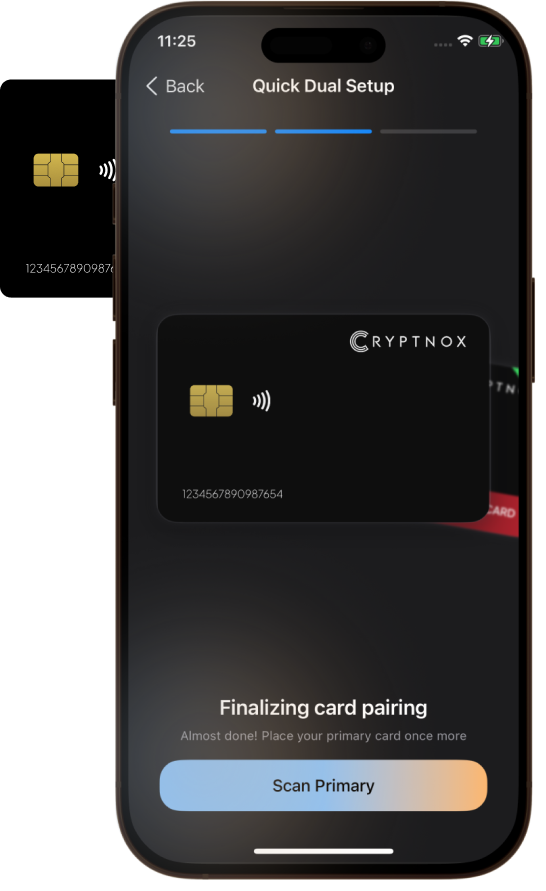
Step 6
Place the “Primary Card” at the back of your phone again to enable the NFC to scan the card. This step finalizes proper pairing between the app and your “Primary Card”
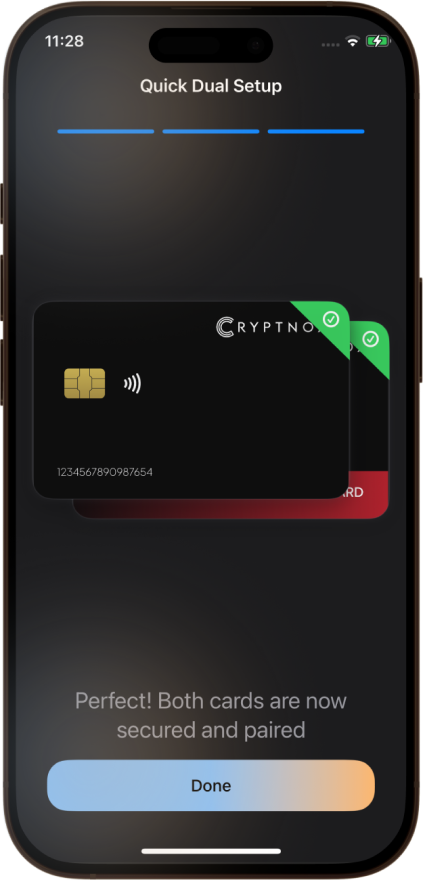
Step 7
Now, both cards are completed paired. Select “Done”
Step 8
Check off the warnings and then select “Go to Wallet” Setup process is successfully done and your wallet is ready