How to setup Cryptnox FIDO2 card for Microsoft account
Step by step tutorial FIDO2 Card for Microsoft Account
Passkey Support Across Operating Systems and Web Browsers:
The availability of passkey support may vary based on the operating system and web browser in use.
MacOS: Passkey support is available in browsers such as Safari and Firefox.
Windows: Most modern web browsers provide passkey support.
Mobile devices: It is recommended to use the mobile web version of the service, as many applications redirect users to a mobile browser to complete the passkey setup process.
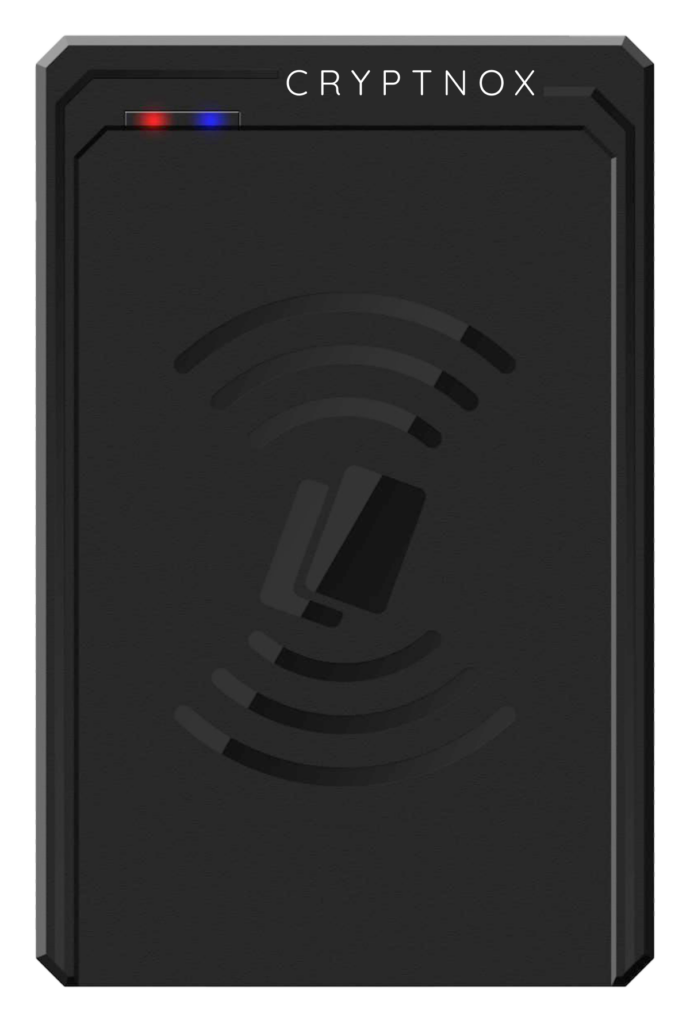
Before you start, make sure you have a contactless reader that is compatible with ISO 14443 for contactless or ISO 7816 for contact reader.
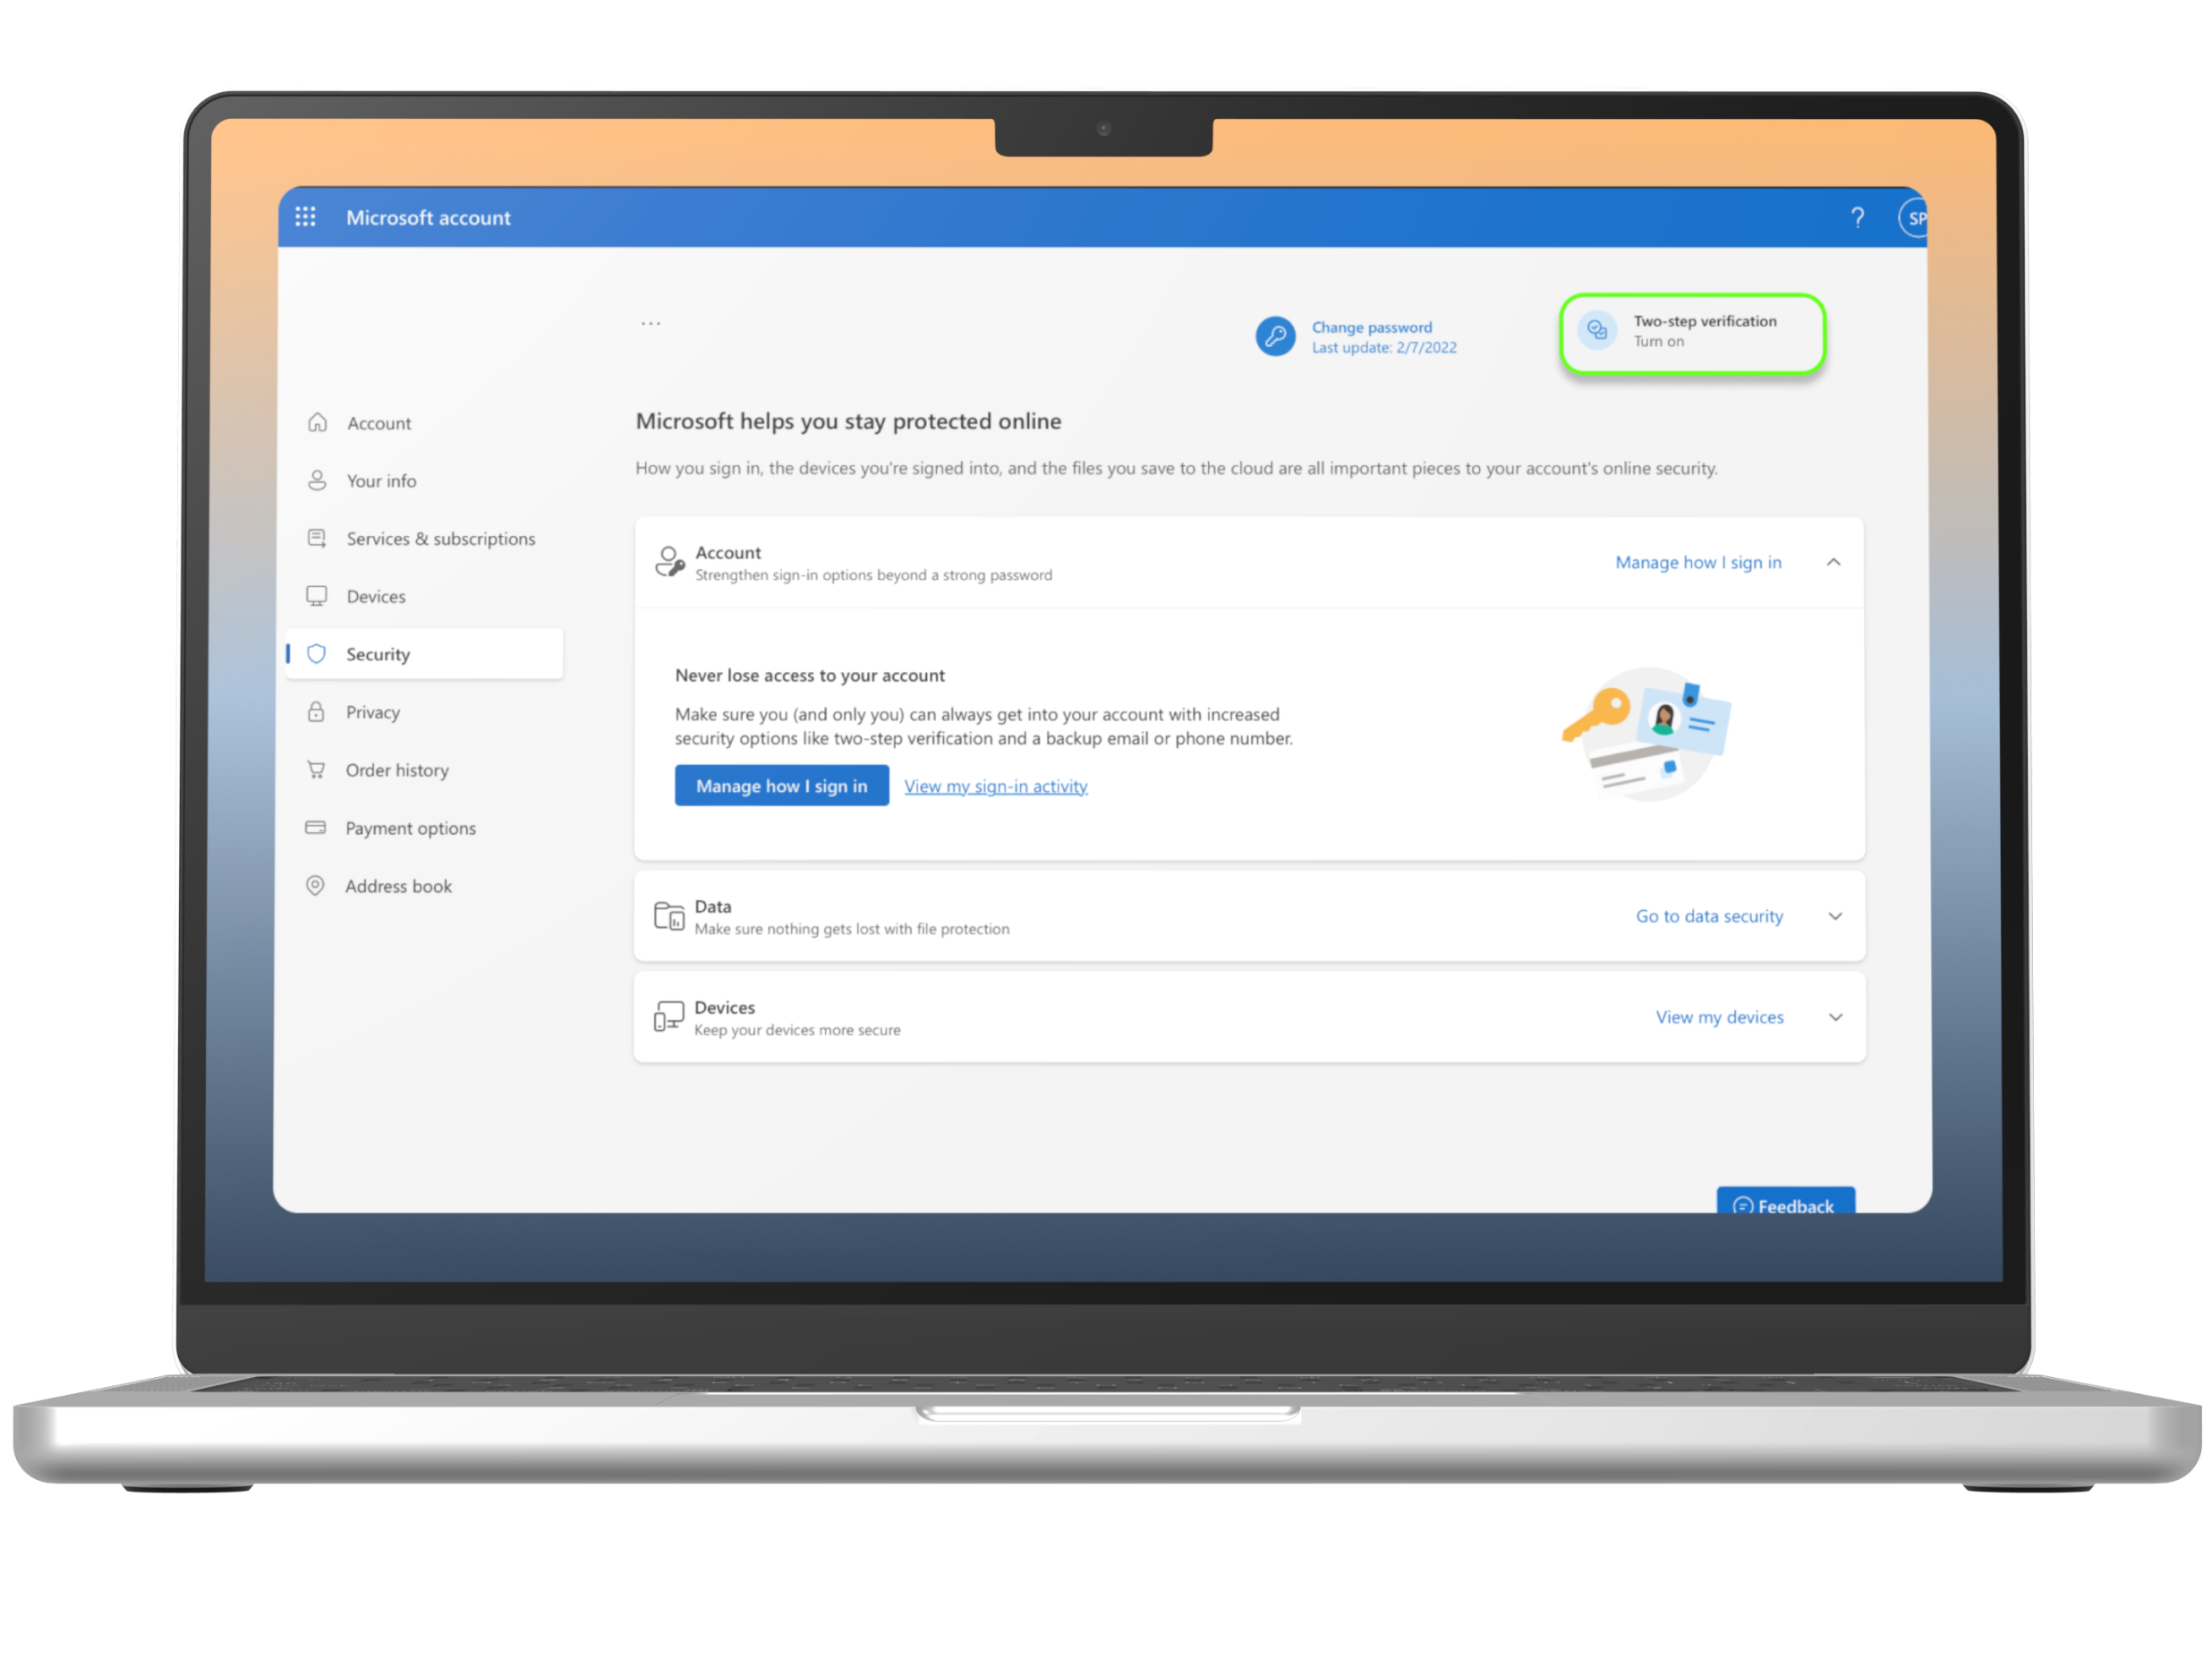
Step 1
Log in to your Microsoft Account first. Go to “Security > Two-step authentication”
Step 2
Select “Add a new way to sign in or verify”.
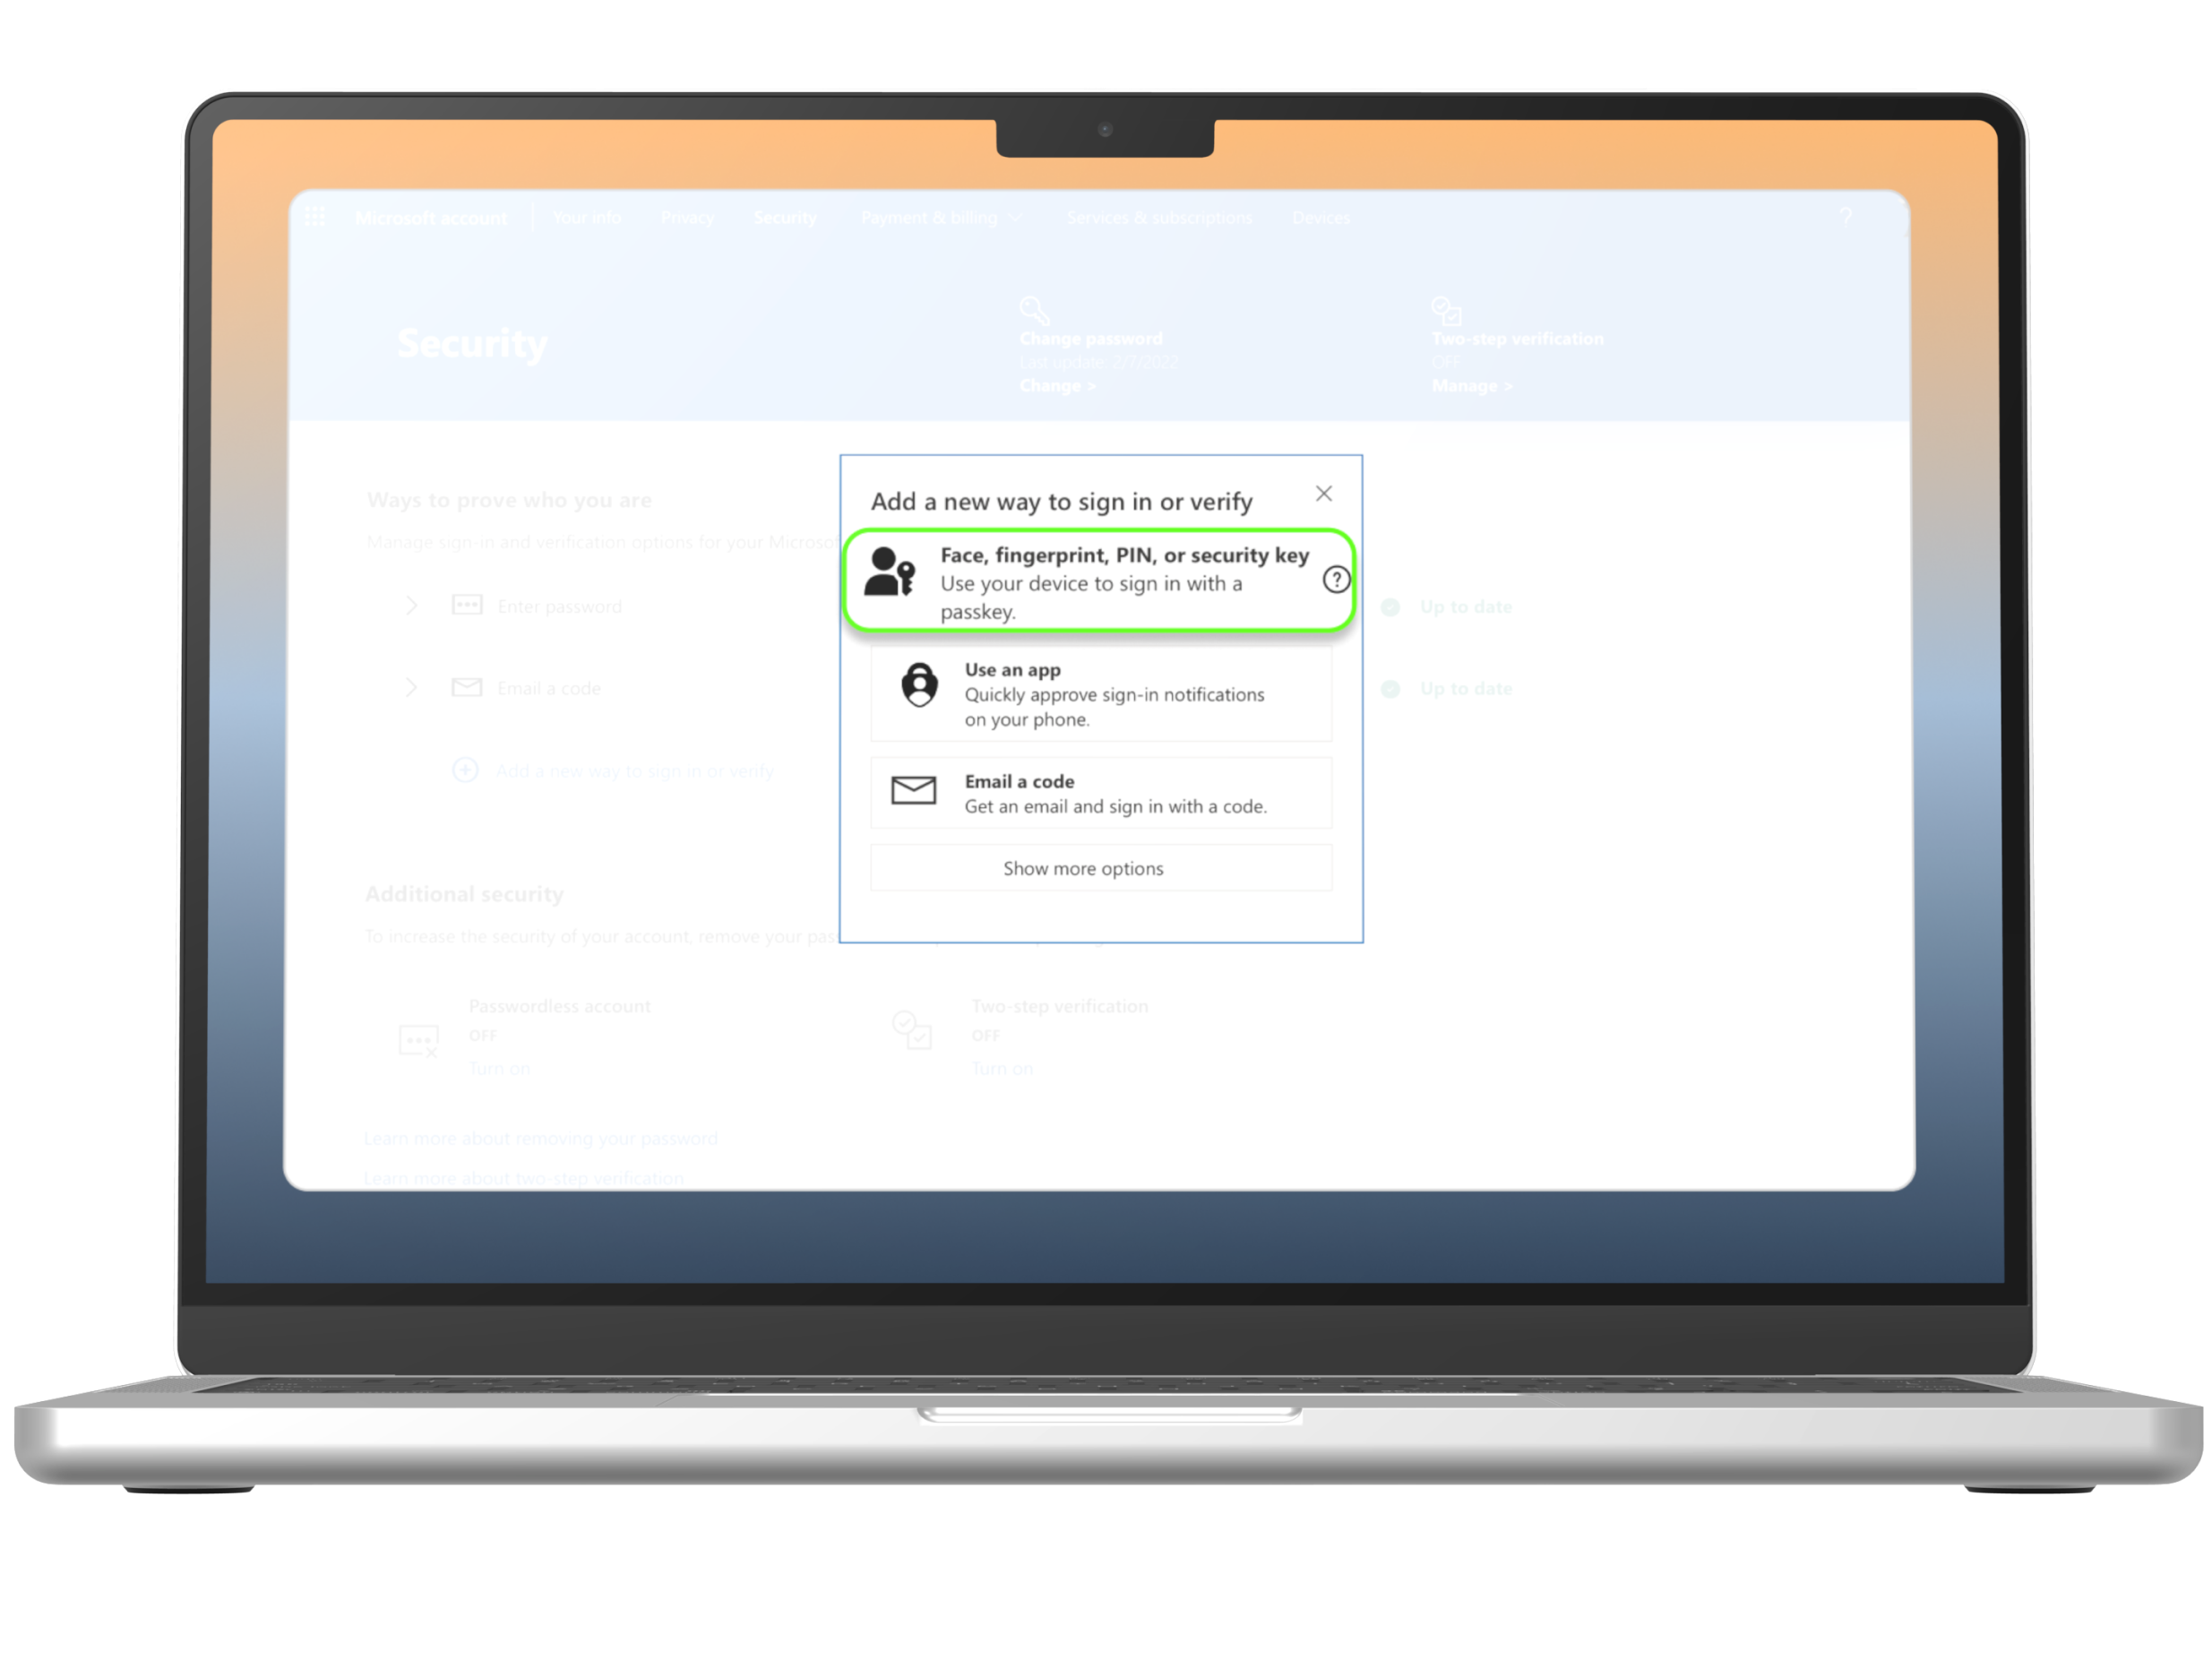
Step 3
Select an option to create a security key.
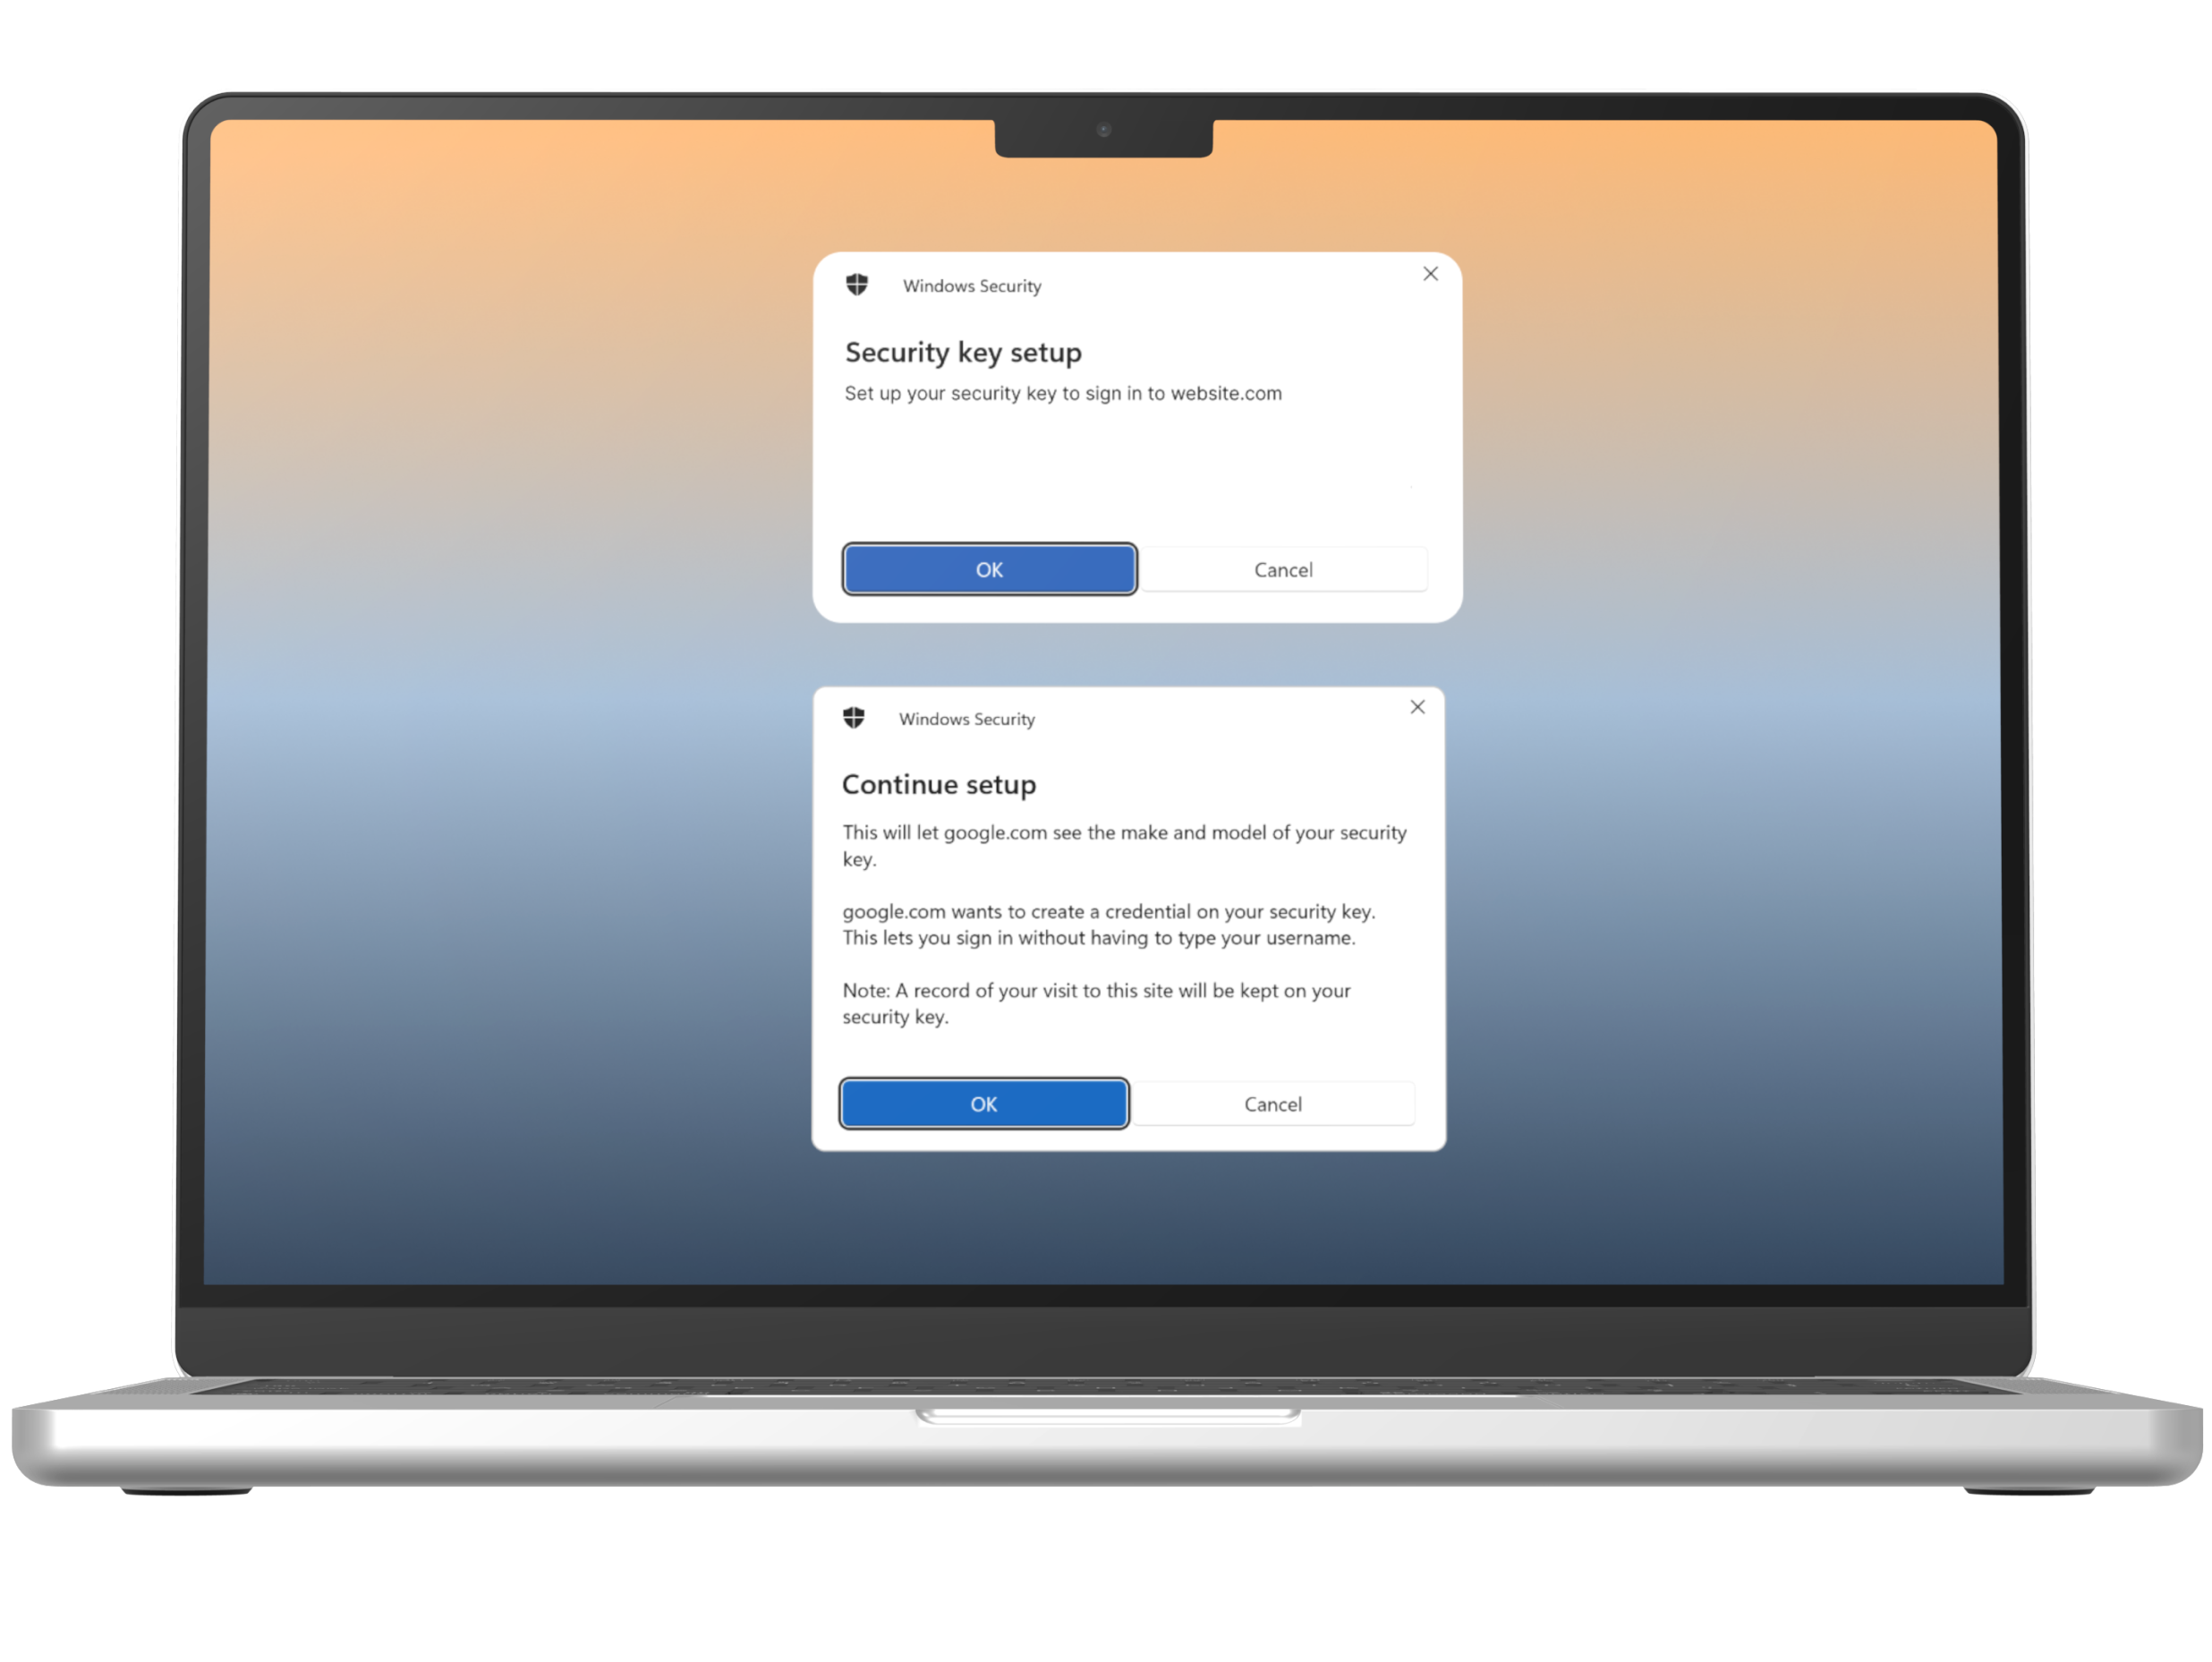
Step 4
The system will prompt the available options to setup a passkey. Ensure to select the “OK” on pop ups.
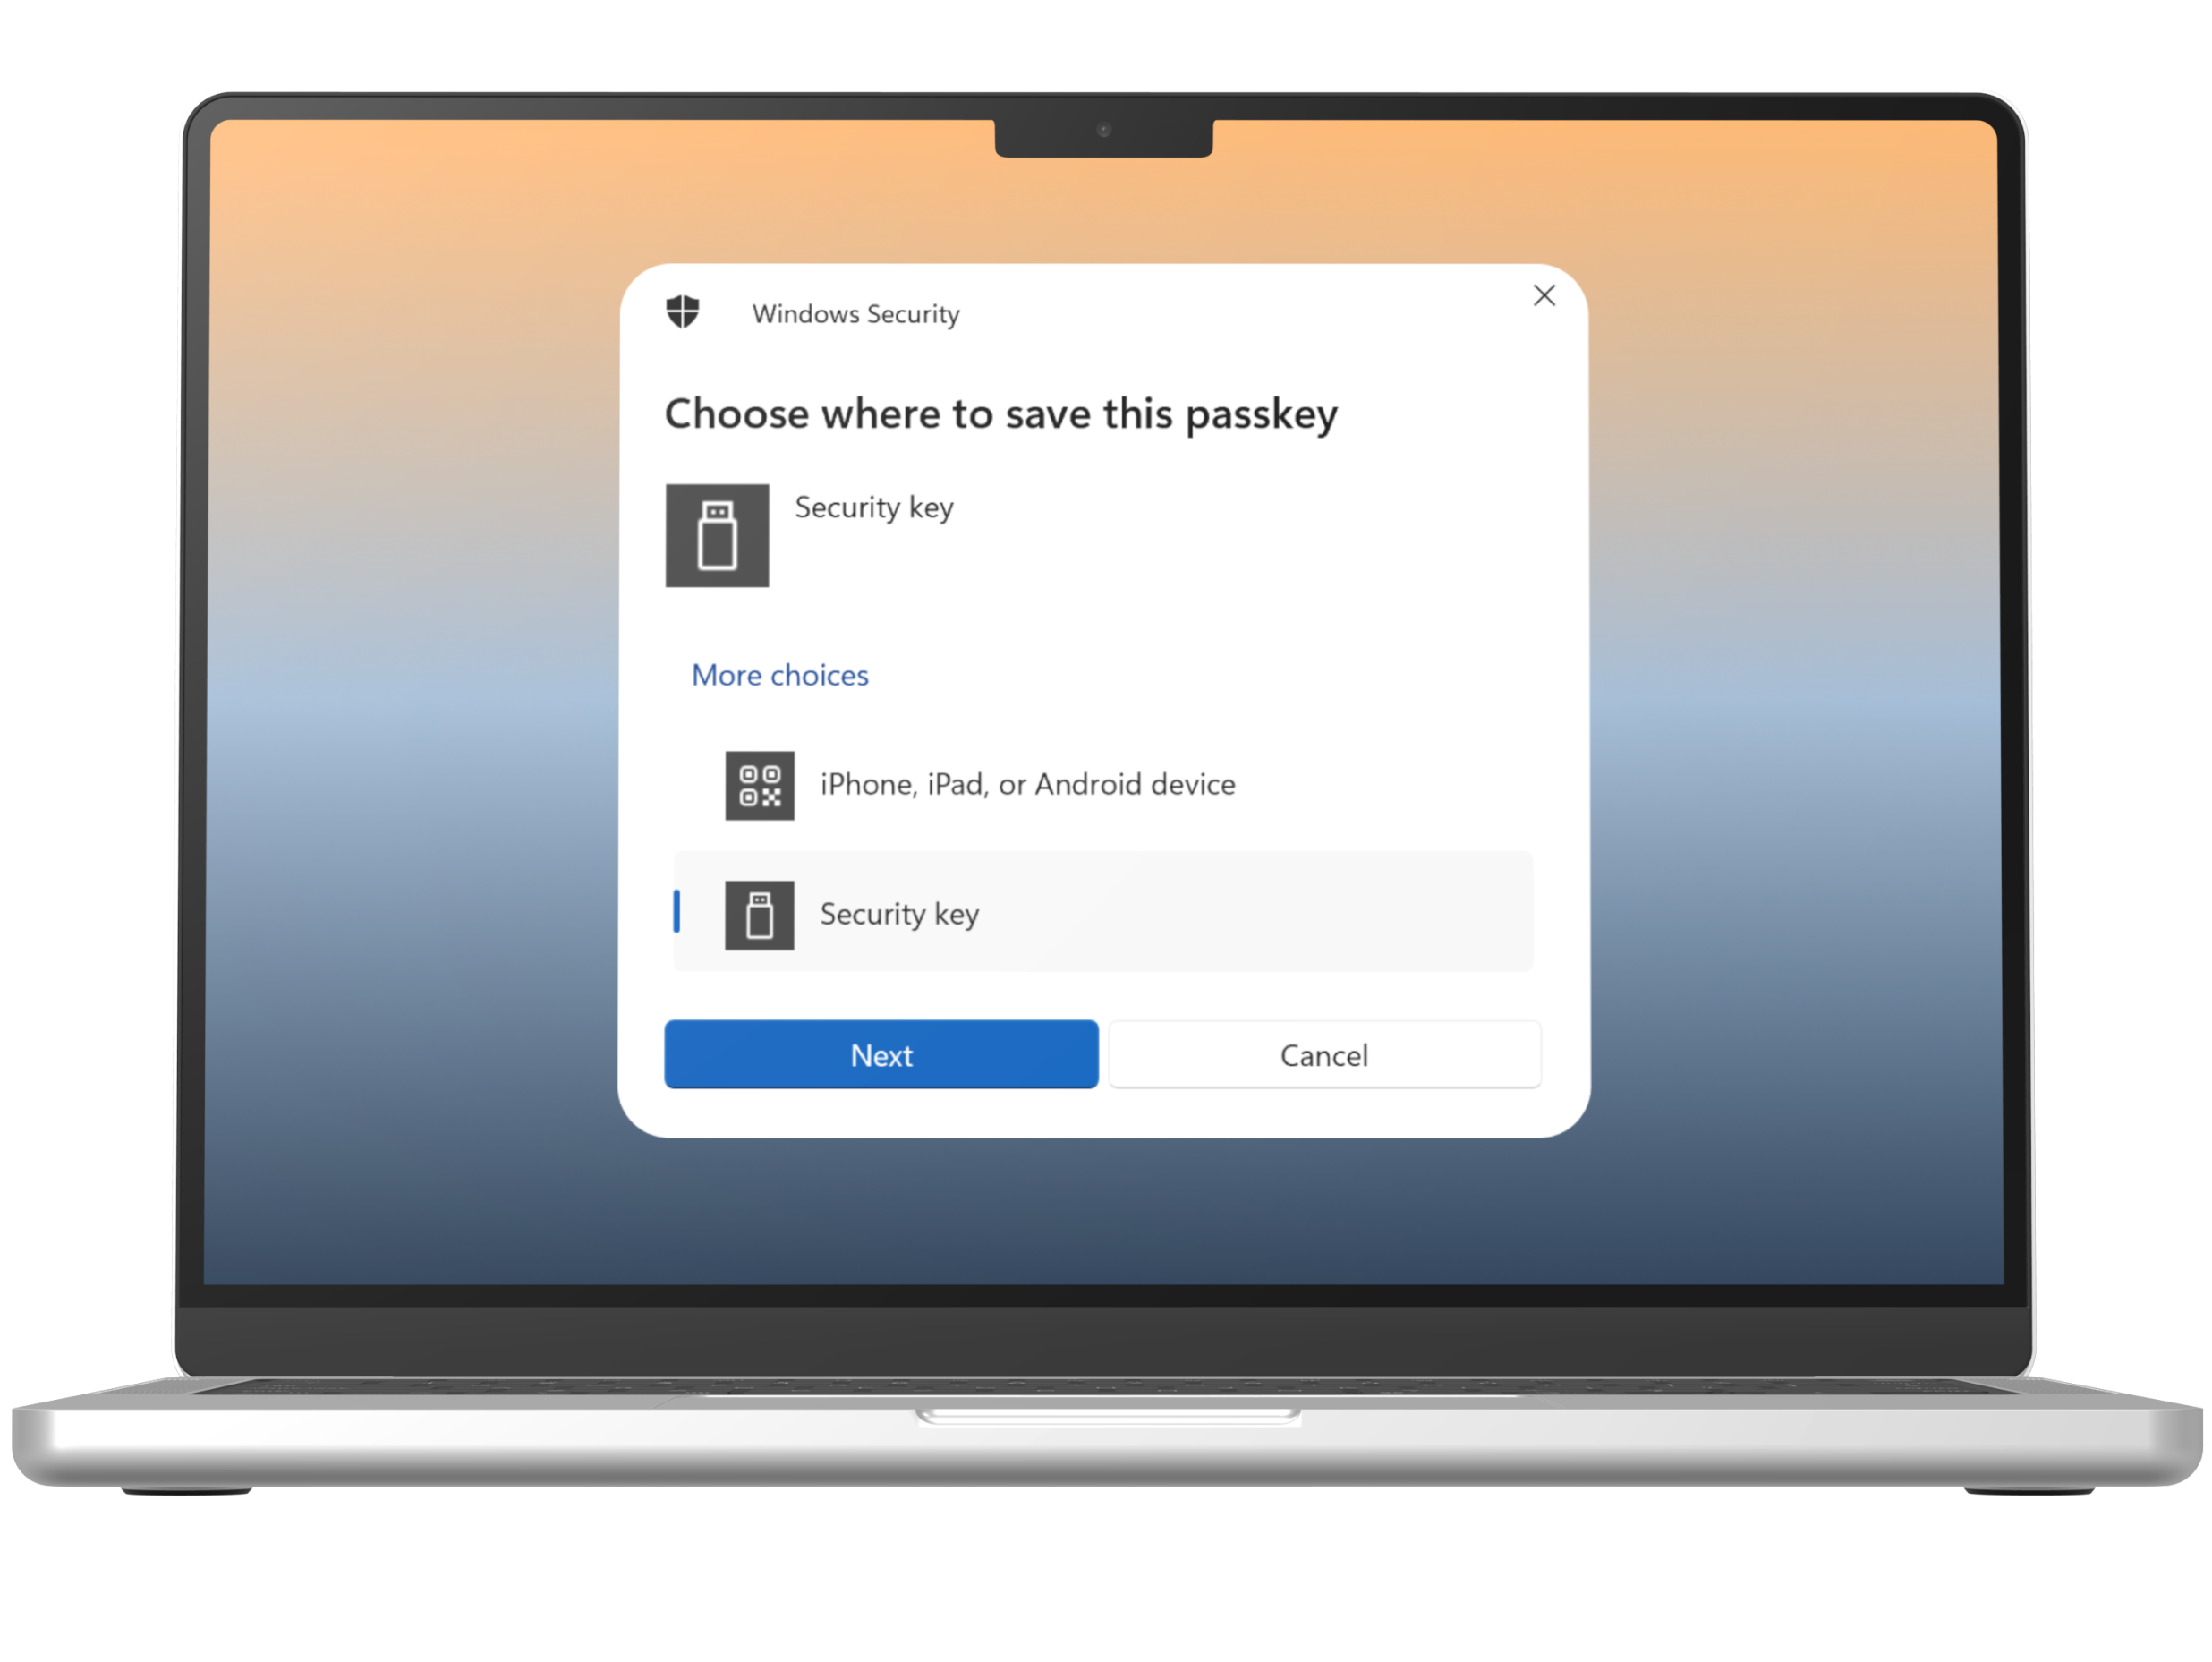
Step 5
The system will prompt the available options to setup a passkey. Ensure to select the “Security key” and select “Next”.
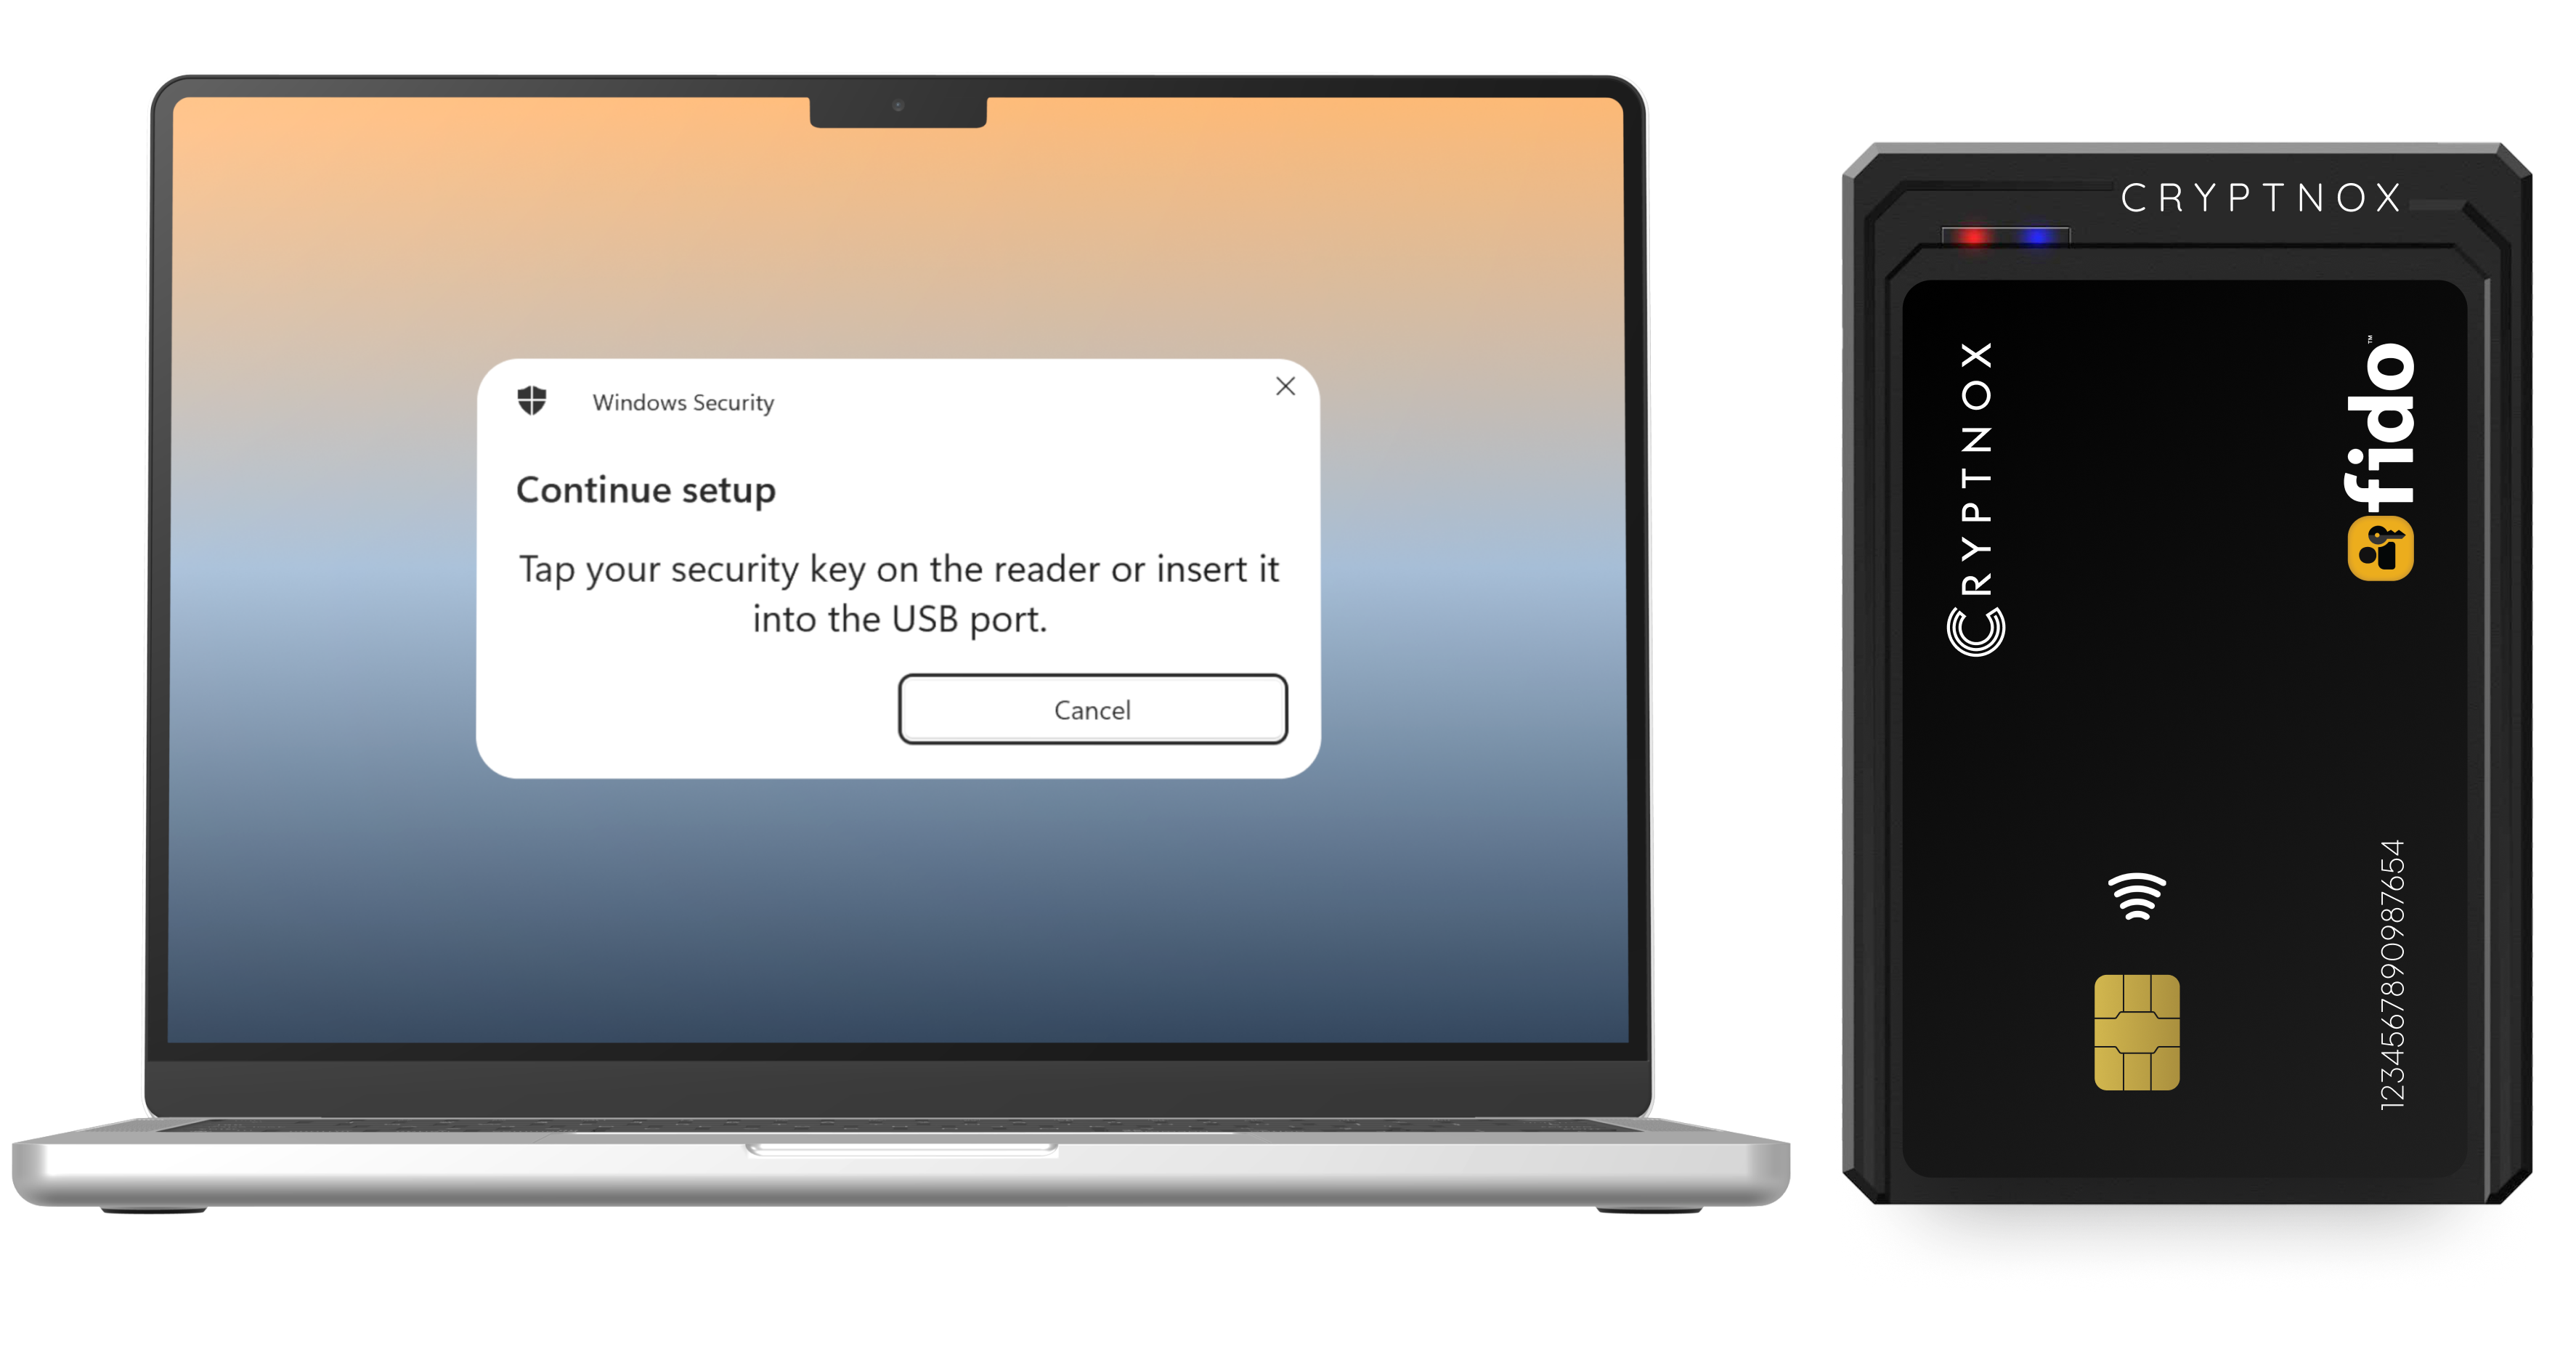
Step 6
The system will prompt the message to setup the security key. While the prompt is opening, place the card on the contactless reader.
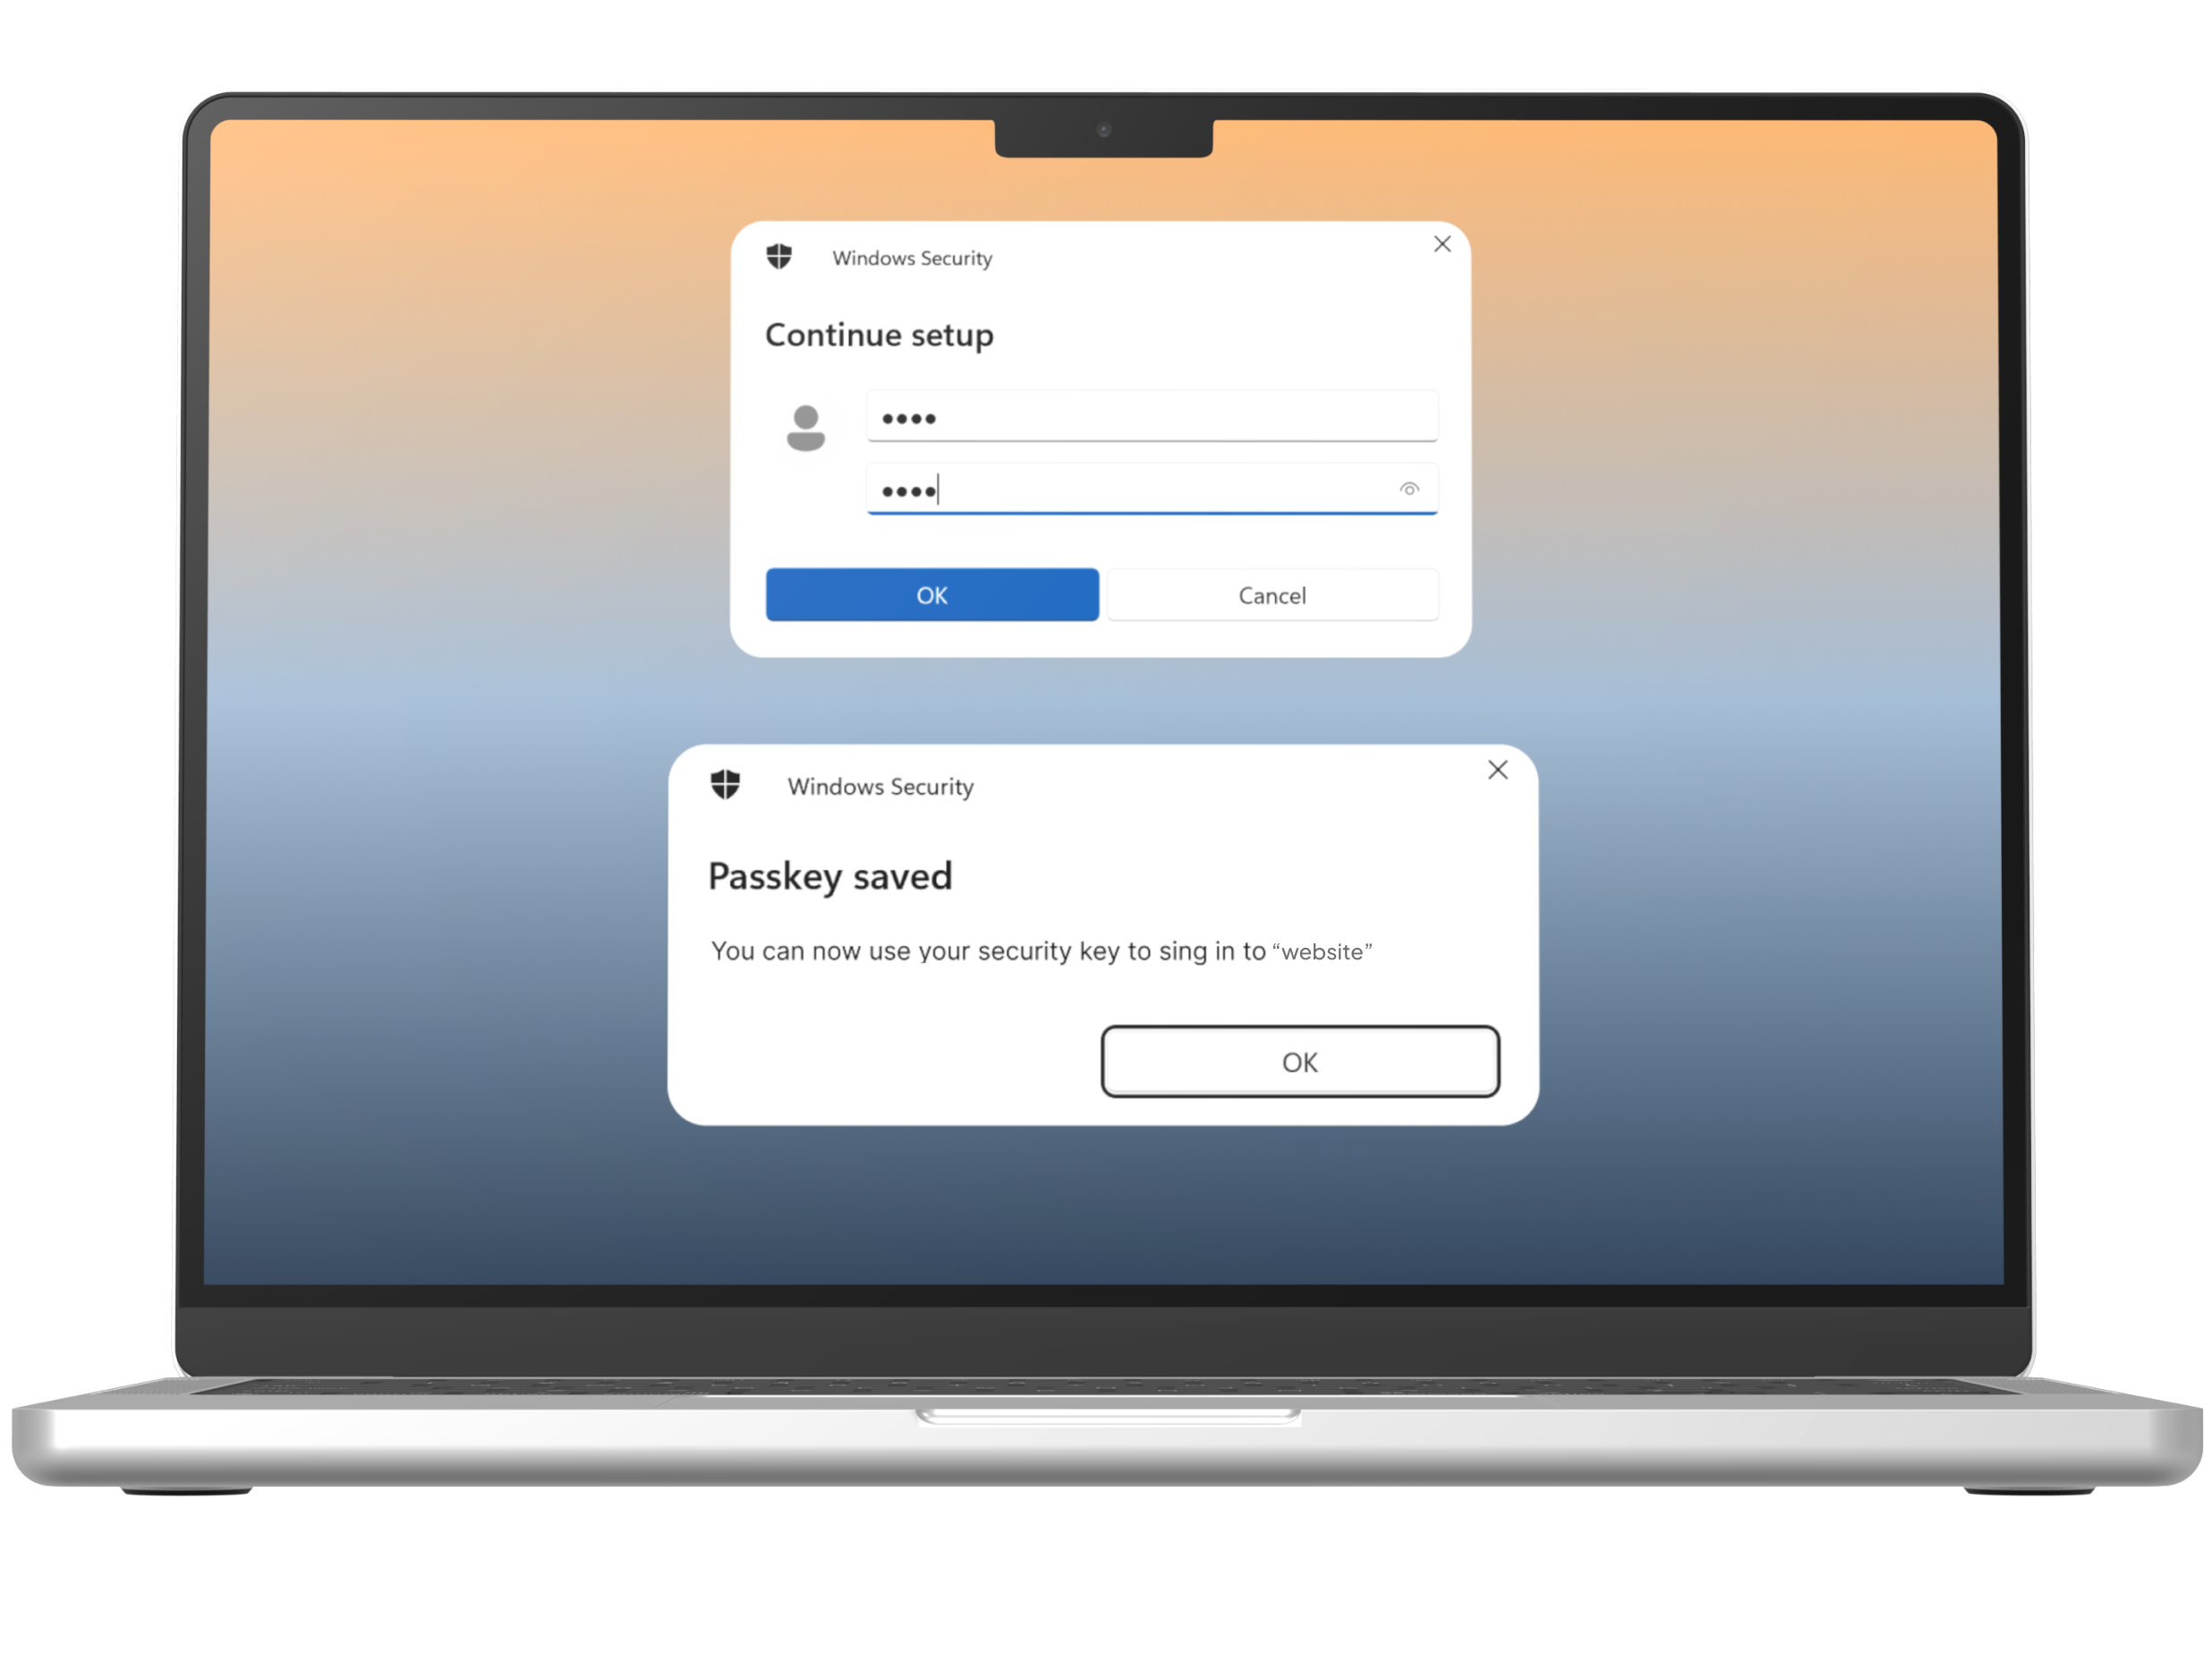
Step 7
Once the card is registered properly, the system will ask you to put the PIN. Once you put in the PIN, select “OK” and in the next pop up, select “OK” again
Important: Ensure you remember your PIN. It is advisable to save it securely or write it down in a safe place. You will need this PIN the next time you log in to a site where you have set up passkey authentication.
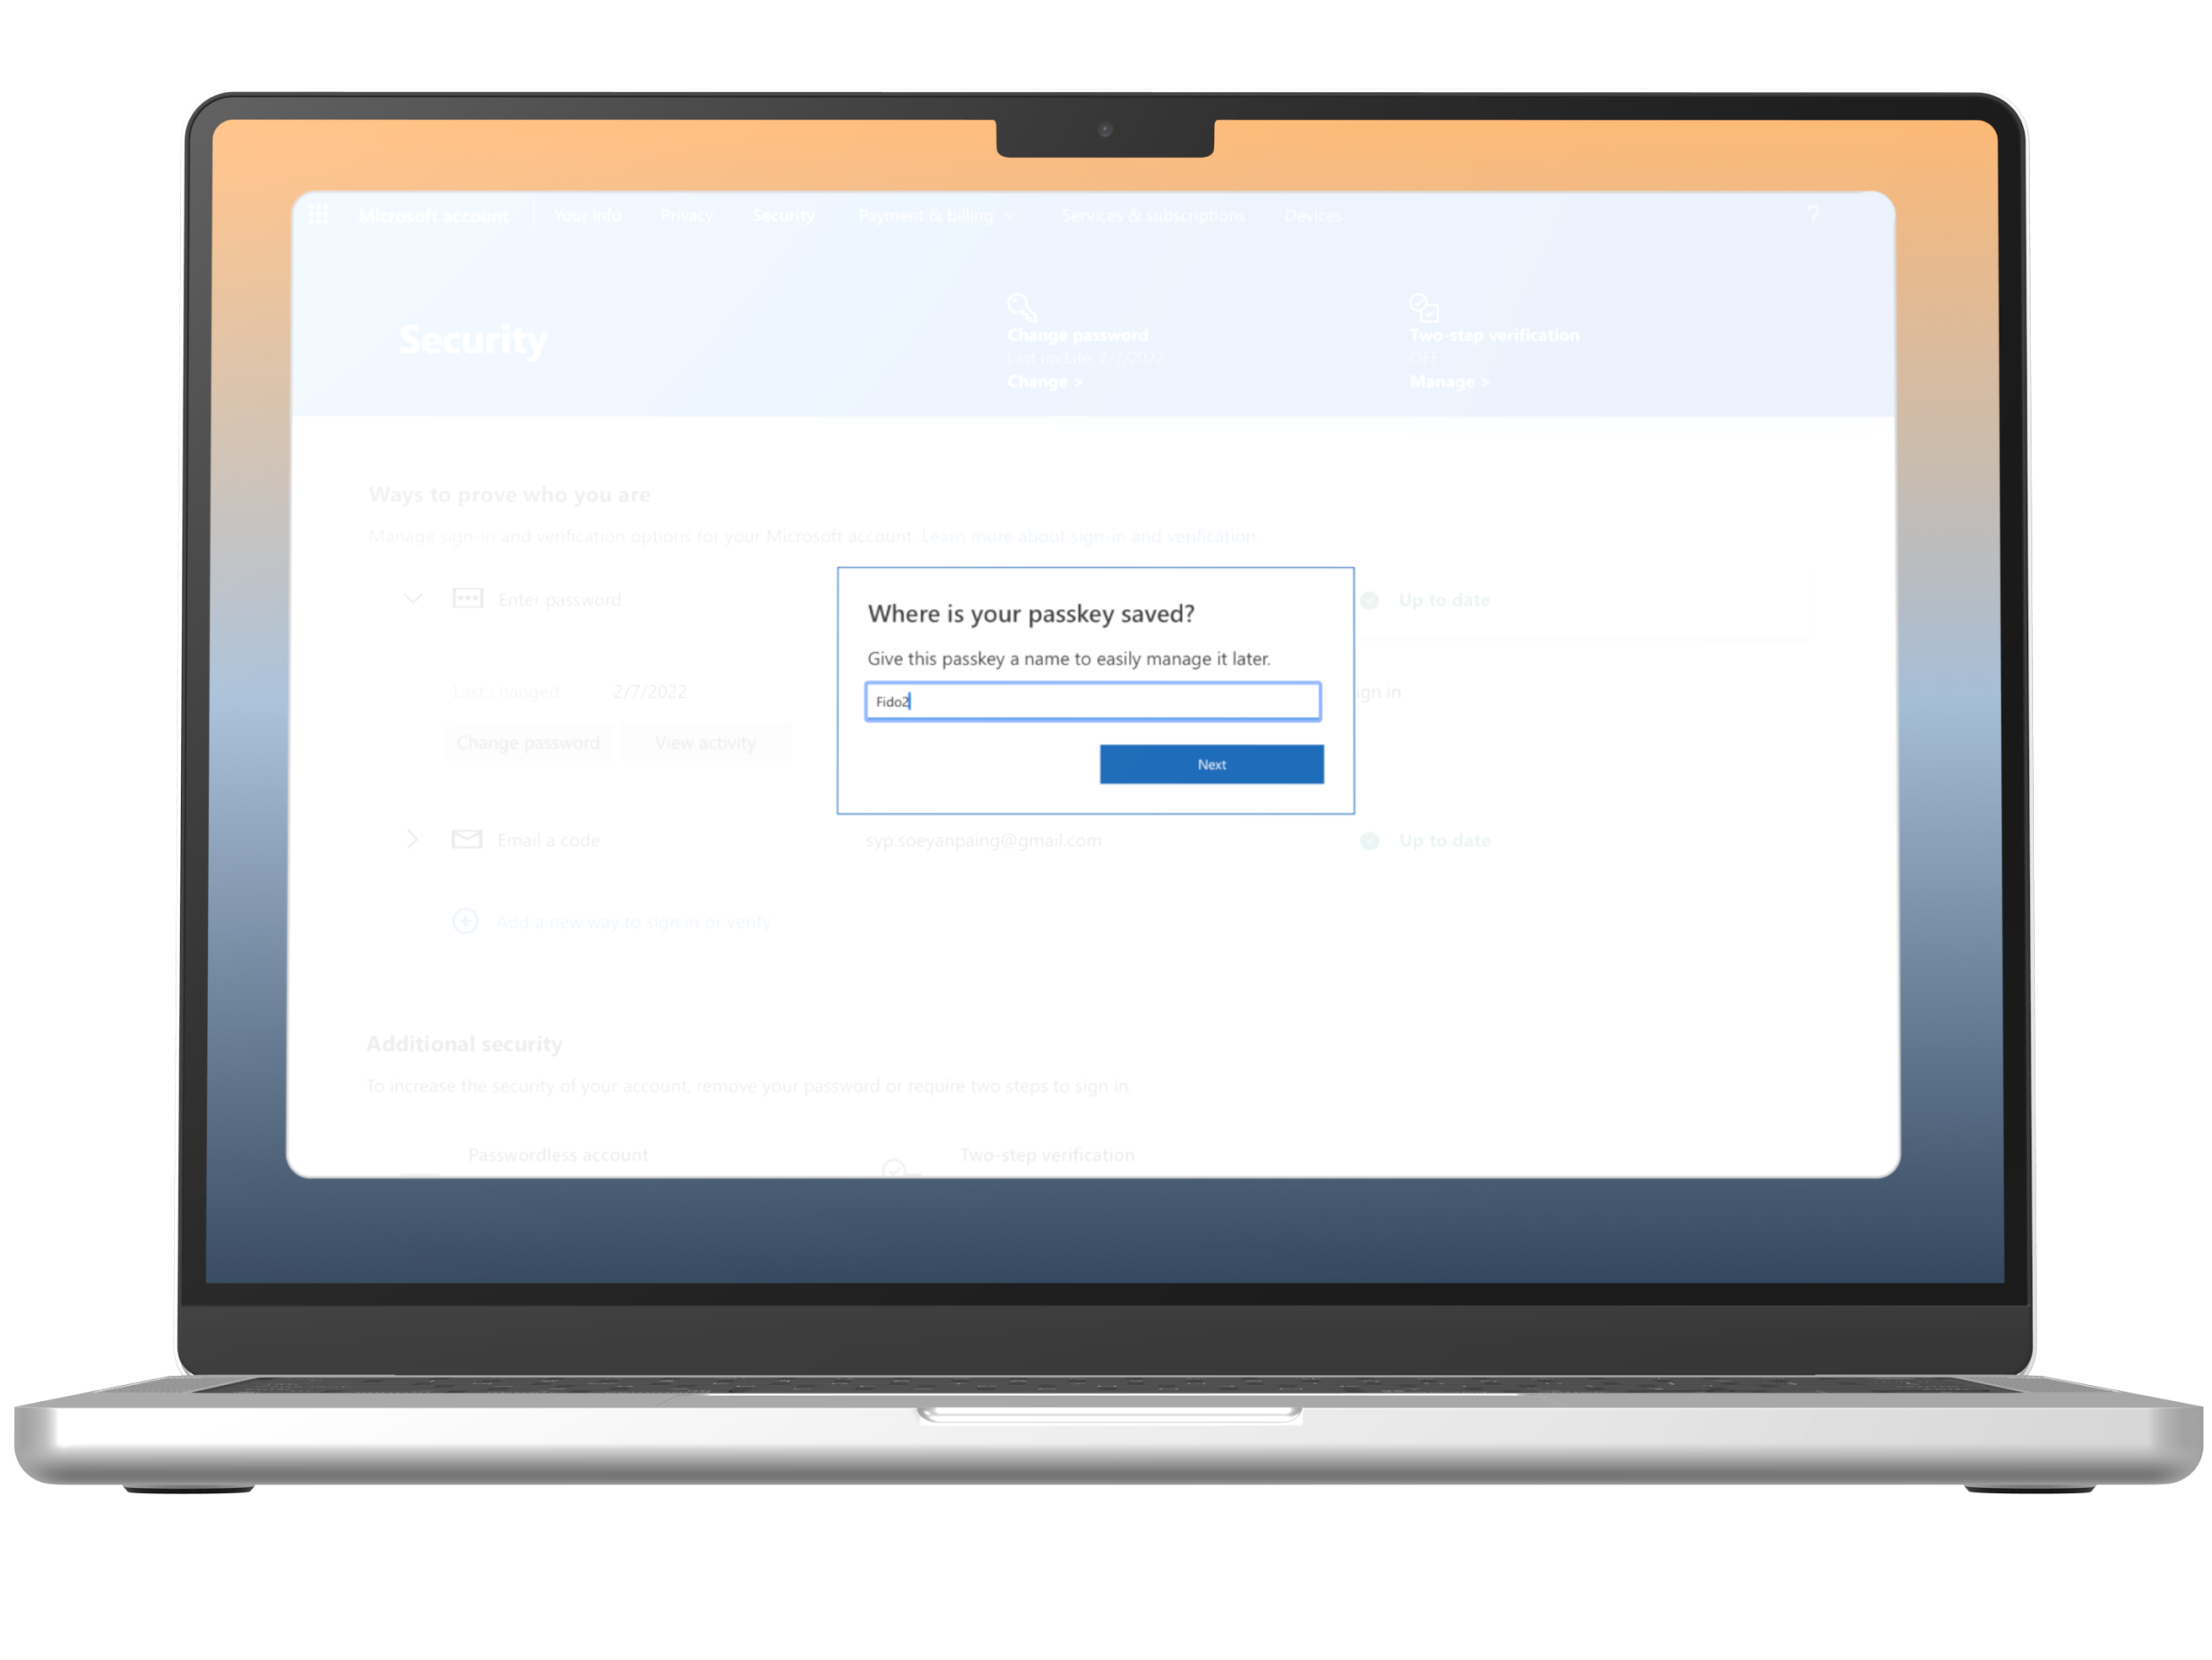
Step 8
Give a name for your security key. This can be anything you like.
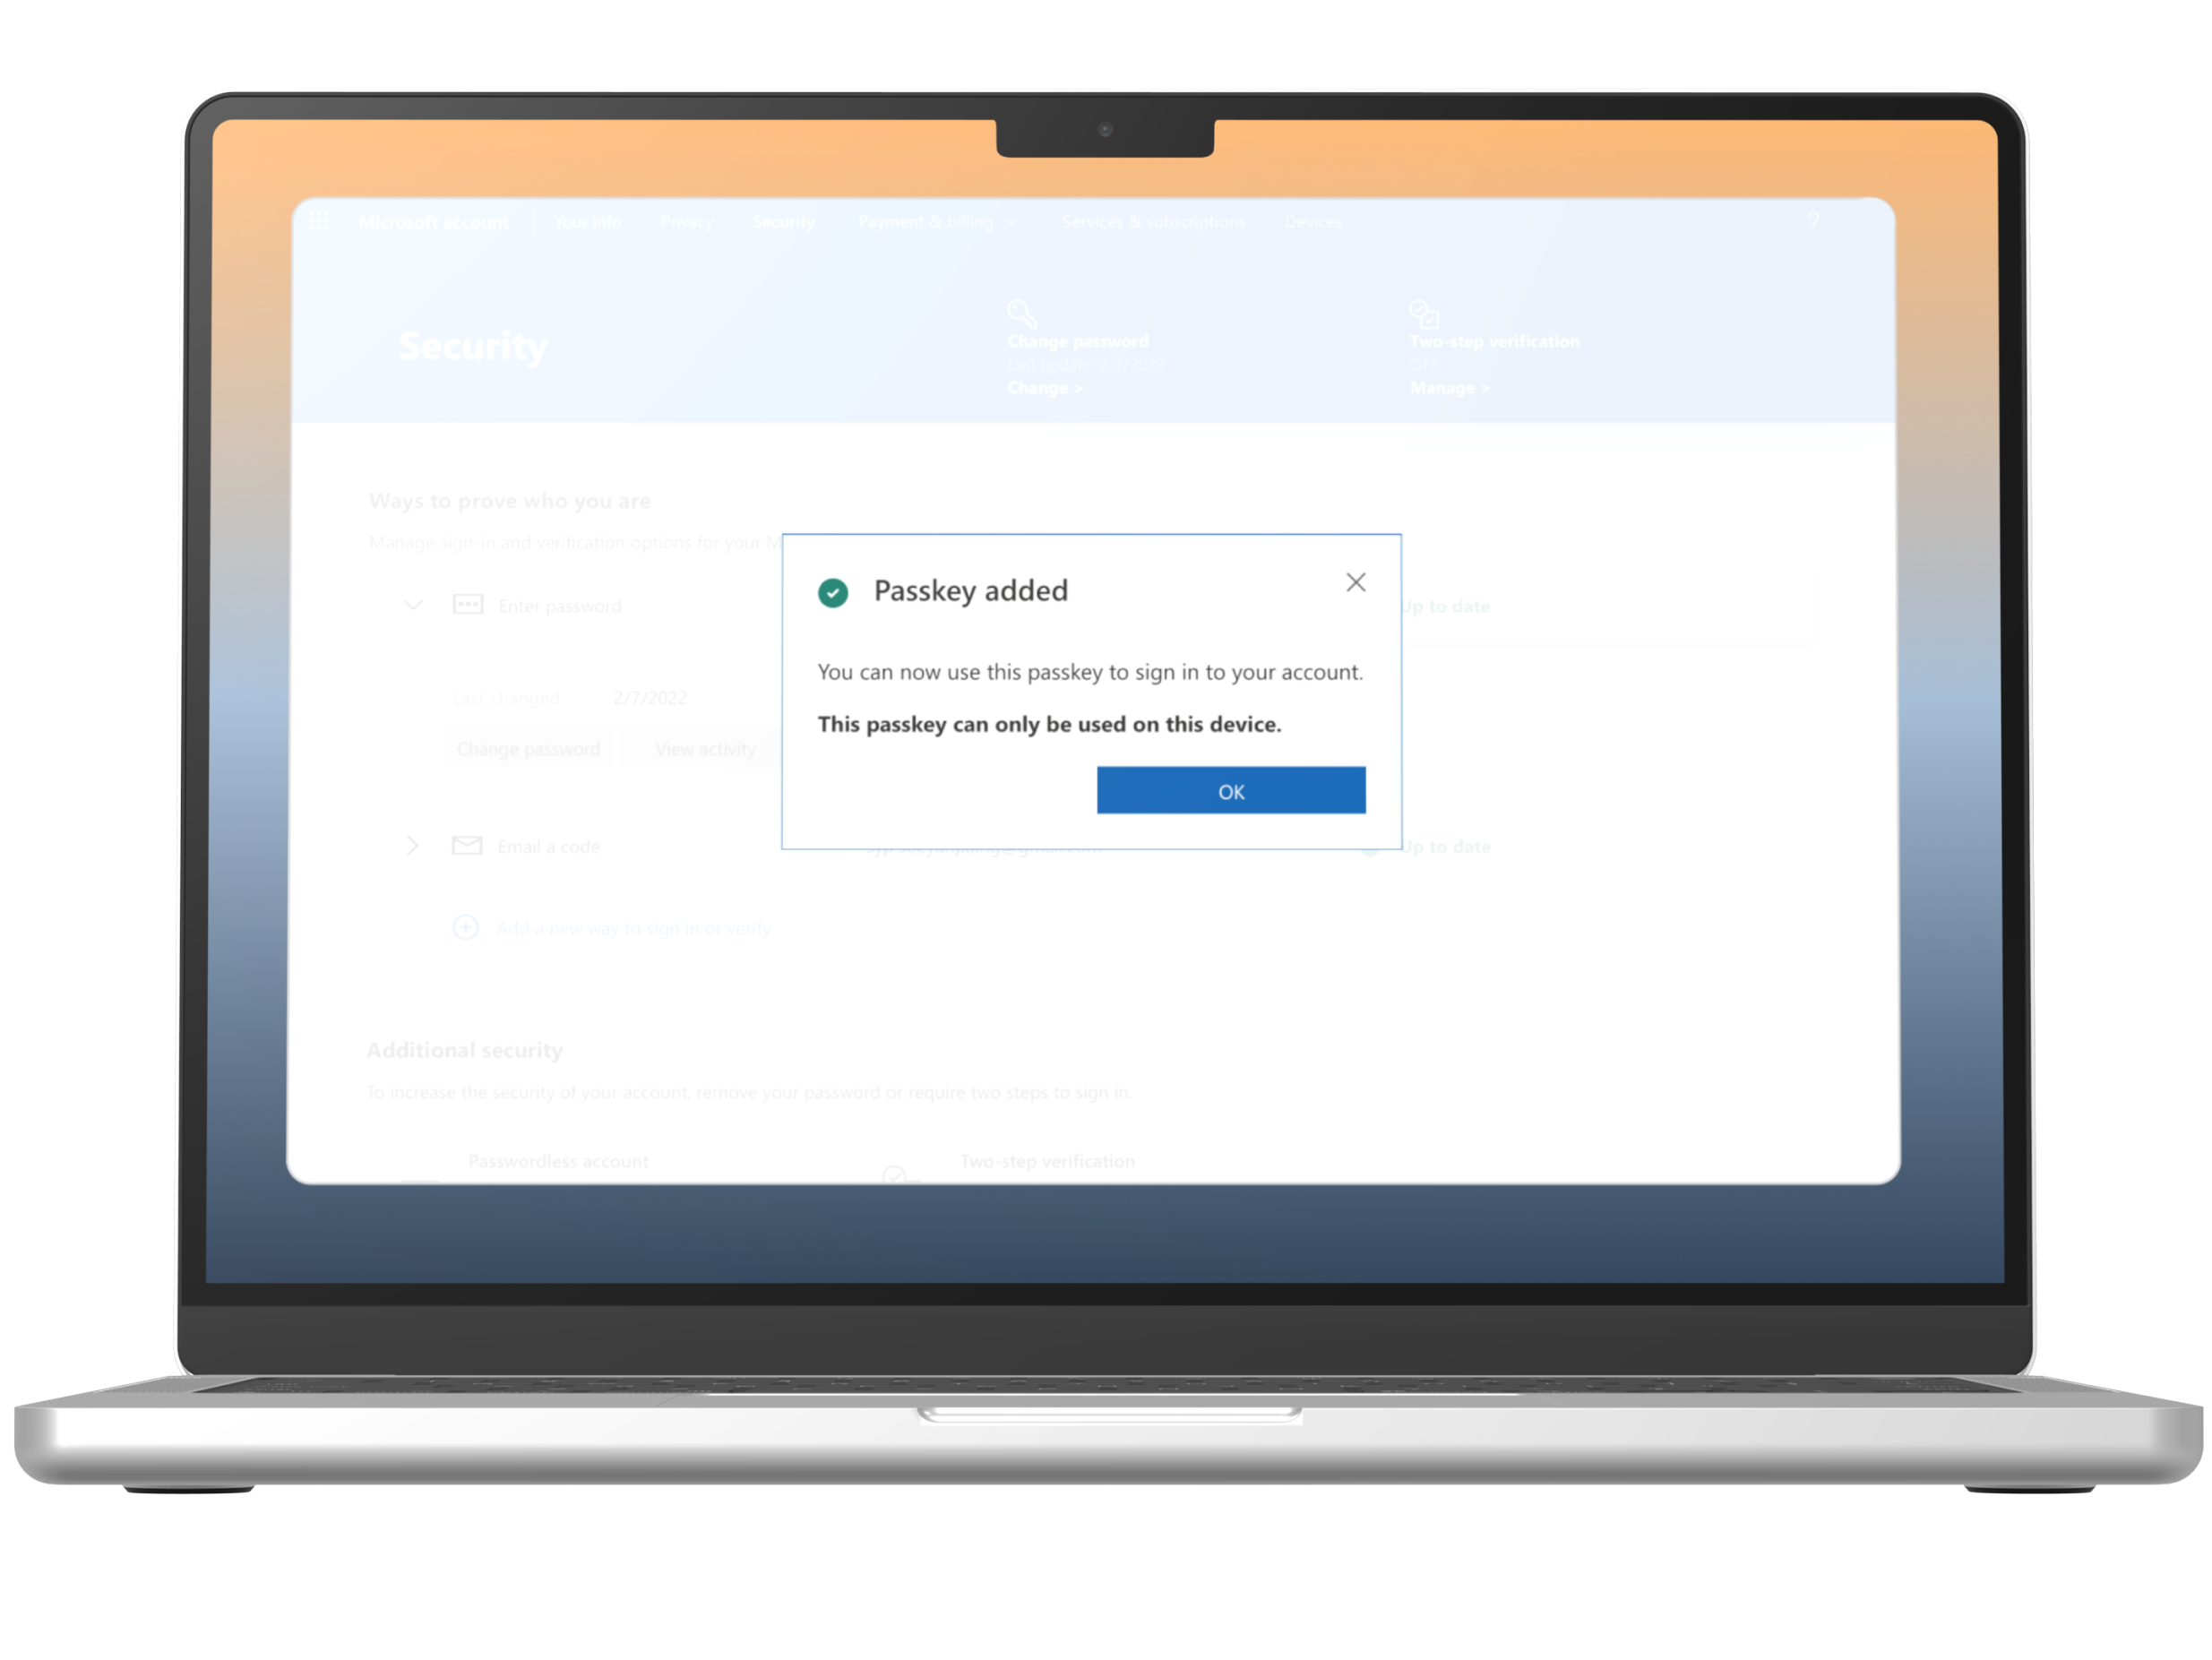
Step 9
You have successfully setup the Cryptnox FIDO2 passkey on Microsoft account.