Arduino is one of the most accessible ways to prototype embedded systems. It is used by students, makers, engineers, IoT teams, and fintech developers to test ideas quickly: sensors, terminals, displays, NFC interfaces, connected devices, and physical authentication flows. But when an Arduino project touches blockchain, payments, device identity, or cryptographic authorization, one question becomes critical: where should the private key live?
The answer should almost never be “inside the Arduino firmware.”
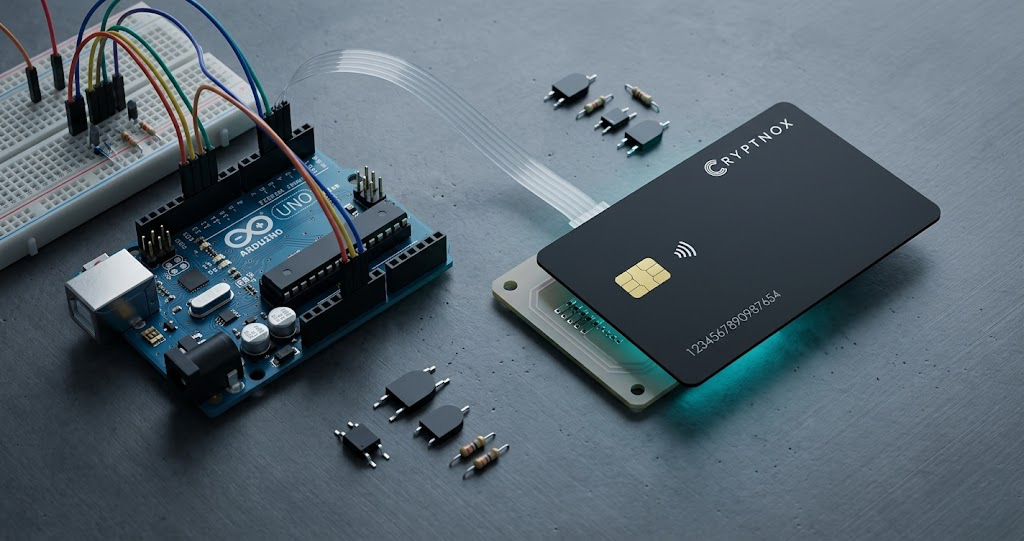
An Arduino hardware wallet architecture separates the embedded controller from the sensitive cryptographic material. Instead of placing a private key in flash memory, EEPROM, a configuration file, or source code, the project can delegate sensitive signing operations to an external secure component: a smartcard-based hardware wallet.
That is where the Cryptnox Arduino SDK becomes interesting. It gives developers a starting point for building Arduino-based prototypes that communicate with a Cryptnox smartcard, while keeping the security model centered on the card rather than the microcontroller.
Cryptnox’s own hardware wallet positioning is based on a smartcard form factor, with private keys stored inside the secure element of the card, and the card required for transaction operations. The purpose of an Arduino integration is therefore not to turn the Arduino into a wallet. It is to use Arduino as a controller, interface, or prototype terminal around a dedicated smartcard hardware wallet.
Arduino boards are excellent for learning and prototyping, but most microcontroller environments are not designed to protect long-term secrets against physical access, firmware extraction, serial debugging, careless logging, or supply-chain mistakes.
Common mistakes include:
For educational demos, these shortcuts may seem convenient. For anything involving real value, device identity, payment authorization, or production IoT security, they are dangerous.
A microcontroller should be treated as a host controller, not as the root of trust. It can read sensors, drive displays, manage user input, communicate with the documented PN532 NFC interface, and coordinate messages; contact-reader support is possible with extra implementation work. But the private key should remain in a purpose-built secure environment.
A Cryptnox hardware wallet uses a smartcard form factor to secure crypto assets and sign operations. Cryptnox describes the card as storing private keys inside the secure element, with the card required for transactions.
For Arduino developers, this creates a clean separation of responsibilities:
This model is especially valuable for prototypes where developers want to explore blockchain security, IoT authorization, proof-of-possession, or NFC hardware wallet workflows without teaching bad habits such as embedding private keys directly in firmware.
Cryptnox also publishes hardware wallet technical specifications for its hardware wallet products, including supported blockchain network information such as Bitcoin, Ethereum/ERC-20, BNB Chain/BEP-20, Tron/TRC-20, XRP, and other EVM chains via WalletConnect or manual configuration.
The Cryptnox Arduino SDK is intended for developers who want to experiment with Arduino-based interaction with Cryptnox smartcards.
In practical terms, the SDK should be understood as a developer bridge between embedded project logic and a smartcard hardware wallet. The Arduino remains the host. The card remains the secure signing component. The exact implementation depends on the SDK documentation and the compatible hardware stack selected for the project.
Because Arduino ecosystems vary widely, developers should not assume compatibility with a specific board, NFC reader, contact reader, transport layer, APDU command, or crypto function without checking the official documentation and the Arduino SDK GitHub repository.
The safest way to describe the architecture is simple: the SDK helps an Arduino project communicate with a Cryptnox smartcard; it does not mean the Arduino stores private keys or signs crypto transactions itself.
A developer could build a tabletop prototype where an Arduino controls a screen, buttons, LEDs, and the documented PN532 NFC smartcard interface; a contact interface could be added with additional implementation. The terminal could display a signing request summary, wait for user confirmation, and then communicate with the Cryptnox smartcard according to the SDK documentation.
This is useful for learning how signing terminals should separate user interaction from key custody.
An IoT prototype can use a smartcard as an external trust anchor. The Arduino collects local device information, prepares an authorization request, and delegates proof-of-possession or signing to the card where supported.
This is especially relevant when an IoT device should prove that it is linked to a specific hardware credential rather than relying on a secret stored directly in firmware. Cryptnox’s custom development page also lists IoT device security use cases, including embedded secure element integration, device attestation, and secure firmware delivery.
For students or security labs, an Arduino can demonstrate a challenge-response concept. A backend or host application sends a challenge, the Arduino passes the appropriate request to the smartcard, and the result is verified externally.
The educational value is clear: users can see that possession of the smartcard matters, while the private key never needs to be revealed to the Arduino.
A fintech team could use Arduino to prototype the physical interaction layer of a crypto payment terminal: amount entry, display, confirmation, card tap, and response handling.
This should remain a prototype unless the full system includes proper transaction validation, secure backend checks, user confirmation, auditability, compliance controls, and production-grade hardware. Arduino is excellent for proving interaction flows, but production payment terminals require a much more rigorous security and certification process.
Universities, bootcamps, and internal engineering teams can use an Arduino and hardware wallet smartcard to teach the difference between software wallets, insecure embedded key storage, and secure signing components.
A good lab exercise could compare three models:
A typical Arduino hardware wallet prototype can be described in four layers.
The Arduino runs the project logic. It may handle buttons, display output, sensors, serial communication, network modules, or local state. It should not contain private keys, seed phrases, wallet recovery data, or production secrets.
In the documented Arduino path, the Arduino communicates with the Cryptnox NFC smart card through a PN532 NFC reader. A contact smartcard reader can also be connected over SPI, UART, or I2C, but it is not supported out of the box and requires a code update to the SDK transport layer. The exact reader, wiring, transport, and library choices must be confirmed in the official SDK documentation.
The smartcard is the secure component. In the hardware wallet model, sensitive key material belongs inside the card’s secure element, not in the Arduino. Cryptnox positions its hardware wallet cards as smartcard-based cold storage devices with secure element key storage.
Some project types may need a backend or wallet application to construct transaction data, verify device identity, validate business rules, or broadcast blockchain transactions. The Arduino should not be treated as a full blockchain node or a complete wallet backend unless the architecture explicitly supports that.
Start with the official Cryptnox Arduino SDK documentation. Review the installation instructions, supported examples, dependency requirements, and compatibility notes.
Then inspect the Arduino SDK GitHub repository. Look for the current README, examples, release notes, supported transports, and any hardware assumptions. Do not copy code from unofficial sources unless it matches the current SDK version.
Next, choose compatible Cryptnox hardware. Developers who need a card for testing can buy a Cryptnox hardware wallet from the Cryptnox shop, where the hardware wallet product section is listed.
Finally, build a minimal test flow. Do not begin with a full payment terminal or complex IoT authorization system. Start with card detection, basic communication, a simple request/response flow, and clear serial output that does not expose secrets.
A safe first milestone is: “The Arduino can communicate with the smartcard and display a non-sensitive result.” Only after that should developers move toward signing workflows, backend validation, and user-confirmed transaction flows.
Never store private keys in Arduino flash, EEPROM, source code, build scripts, or serial logs. Even test keys should be treated carefully, because prototypes often get copied into production faster than expected.
Validate transaction details before signing. A secure signing element protects the key, but it does not automatically guarantee that the user or system intended to sign the exact data being presented. Production systems should ensure that amounts, addresses, chain IDs, contract calls, and business rules are validated before a signature is requested.
Avoid exposing secrets in logs. Serial debugging is useful, but it can leak sensitive data. Log only non-sensitive status information, error codes, and development diagnostics.
Use secure backend validation for production systems. Arduino can be part of a prototype, but production crypto, fintech, or IoT systems need stronger controls: authenticated backends, replay protection, rate limiting, transaction policy checks, audit logs, secure firmware update flows, and a clear threat model.
Separate development from production. Use test networks, test keys, development cards, and limited-value environments when experimenting.
Arduino is excellent for learning, demos, and early hardware interaction. It is not always the right platform for production infrastructure.
Consider moving beyond Arduino when the project needs:
For teams moving toward commercial products, Cryptnox also provides custom smartcard development services. Cryptnox describes custom development work on NXP JCOP 4.5 P71 secure elements, including JavaCard applets, SecureBox native C, host-side integrations, mobile SDKs, desktop middleware, cloud backend services, and IoT security use cases.
If your project outgrows Arduino, the same Cryptnox smartcard can be driven from the other Cryptnox SDKs: the Cryptnox C++ SDK for native and embedded-Linux applications, and the Cryptnox ESP32 SDK for connected ESP32-S3 devices. For an overview of all three, see the Arduino, C++ and ESP32 SDK announcement. For a C++ integration walkthrough, see how to integrate Cryptnox cards with the C++ SDK.
Arduino makes hardware experimentation fast and approachable. Cryptnox smartcards bring a hardware-wallet security model into that experimentation process.
The key idea is simple: do not make the Arduino the wallet. Make it the controller. Keep private keys inside the Cryptnox smartcard, use the SDK to build the interaction layer, and validate signing flows carefully before moving beyond prototypes.
Explore the Cryptnox Arduino SDK documentation and start prototyping with a Cryptnox hardware wallet smartcard.
An Arduino hardware wallet project is an embedded prototype where Arduino controls the interface or device logic while a separate hardware wallet smartcard protects sensitive key material and performs signing operations where supported.
No. Arduino firmware, flash, EEPROM, and serial logs are not appropriate places to store private keys or seed phrases. Sensitive keys should remain inside a dedicated secure component such as a hardware wallet smartcard.
In this architecture, the Arduino should not be treated as the signing device. It acts as a host controller. Sensitive signing operations should be delegated to the Cryptnox smartcard where supported by the card and SDK.
It can be useful for prototyping payment terminal interaction flows, but production payment systems require much more than an Arduino demo, including secure backend validation, transaction policy checks, compliance review, and production-grade hardware.
Start with the official Cryptnox Arduino SDK documentation, review the GitHub repository, choose compatible Cryptnox hardware, and build a minimal non-sensitive communication test before moving toward signing workflows.